In this tutorial, we’ll explore how to customize the colors of events in our Django and React calendar application powered by FullCalendar. We’ll start by learning how to change the color of all events on the calendar, and then dive into dynamically changing the colors based on the data associated with each event.
Change the colors of all FullCalendar Events
To change the color of all events, we can use the eventBackgroundColor parameter provided by FullCalendar. This parameter allows us to set the background color of all events using various CSS color formats, such as named colors, hex codes, or RGB values.
For example, to make all events appear in red, we can add the following code to our FullCalendar instance:
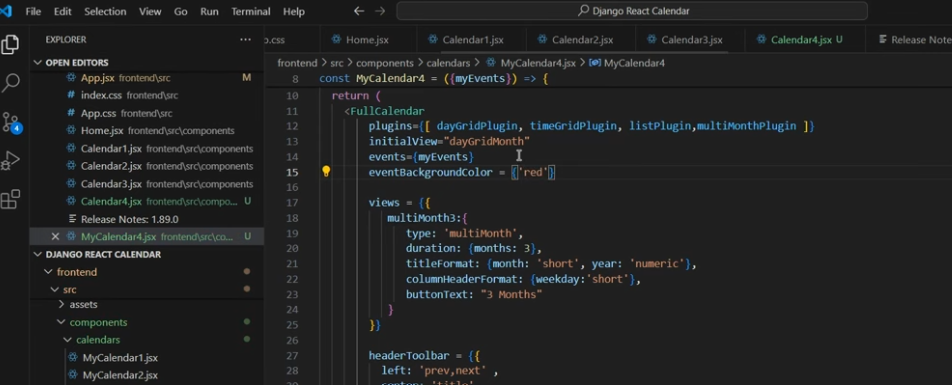
eventBackgroundColor: 'red'Similarly, to make all events appear in a custom purple color, we can use the hex code:
eventBackgroundColor: '#8B008B'This approach is useful when you want to apply a consistent color scheme to all events on the calendar, but it doesn’t allow for differentiation based on the data associated with each event.
Changing Colors Based on Event Data
To change the colors of events based on their data, we’ll need to make a few changes to our application. First, we’ll add a status field to our API, which will be used to determine the color of each event. Then, we’ll set the classNames of each event to the corresponding status, allowing us to target the events using CSS.
Adding the status field to our API
The first step is adding the status field to our API. It is already in my database, so I can just add the field in my serializers.py file.
You can use whatever attribute you would like, in my case I take status and rename it to classNames
from rest_framework import serializers
from .models import *

class AppointmentSerializer(serializers.ModelSerializer):
    title = serializers.CharField(source='name')
    start = serializers.DateField(source='start_date')
    end = serializers.DateField(source='end_date')
    classNames = serializers.CharField(source='status')

    class Meta:
        model = Appointments
        fields = ('id','start','classNames', 'end','title')
I rename the status field to classNames, since that is the attribute name that fullCalendar expects for setting the classname of an event.
Now, when we fetch the appointment data from our API, we’ll have access to the status information for each event.
Check the class names
I’m already passing the full API to our calendar, meaning that by using classNames as field, the name of the classes in my calendar will reflect the status of the event.
In the image below you can see that the name of the class has been set to Completed, which is the status of the record.

Applying CSS Styles Based on Event Class Names
With the className of each event set to the corresponding status, we can now use CSS to apply different colors based on the event’s status. In our app.css file, we can add the following styles:
a.Completed{
    background-color: green;
    border: 2px solid darkgreen;

}

a.Open{
    background-color: red;
    border: 2px solid darkred;
}

a.progress{
    background-color: orange;
    border: 2px solid orangered;
}
These styles will ensure that events with a completed status appear in green, events with an open status appear in red, and events with an in-progress status appear in orange, with corresponding border colors.
You need to mention each of your statuses in the CSS file, and style it.
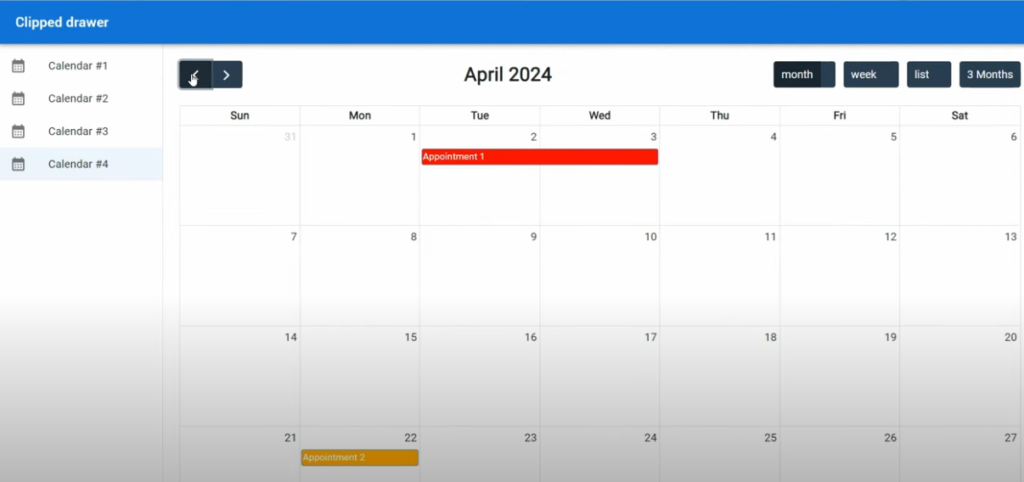
End result
Now when we go to our Calendar, we see that all of the events have different colors based on the status in my data!