

Python Django Google Maps API: Set up API in Google Cloud Platform
In this tutorial series I show how you can use the Google Maps API in your Django application. This API can be used for geocoding, reverse geocoding, distance calculations, and displaying maps in your application.
In this post we will focus on setting up the API on the Google Cloud Platform. This step is essential since it enables us to use Google’s services in our application.
For this tutorial you need an account on the Google Cloud Platform. You can set this up here. It is completely free. You will need to link a bank account or credit card to Google in order for the APIs to work.
In this post we need to complete the following steps:
- Create a new project in the Google Cloud Console
- Enabling the required APIs
- Generating credentials for our API
- Adding the API key to the Django application
Creating a new project in Google Cloud Console
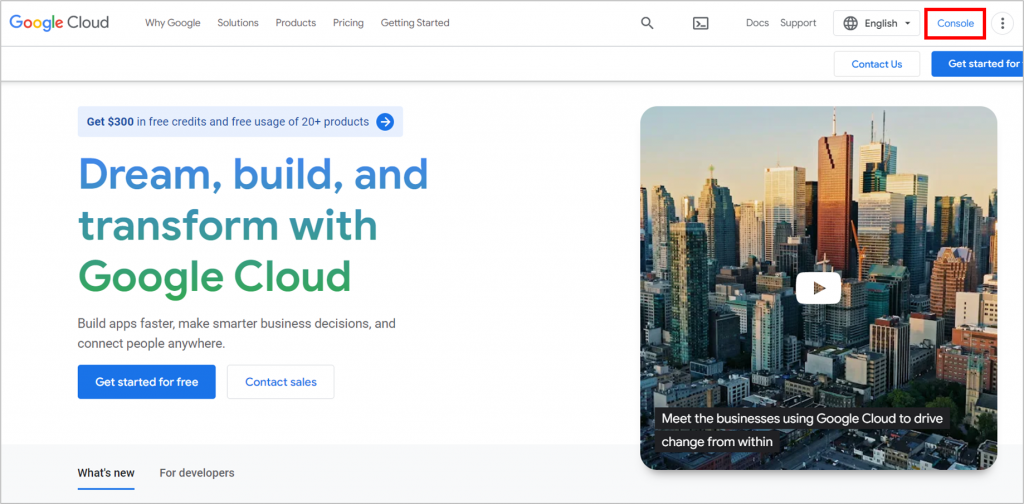
Go to the Google Cloud Platform and click on the console.
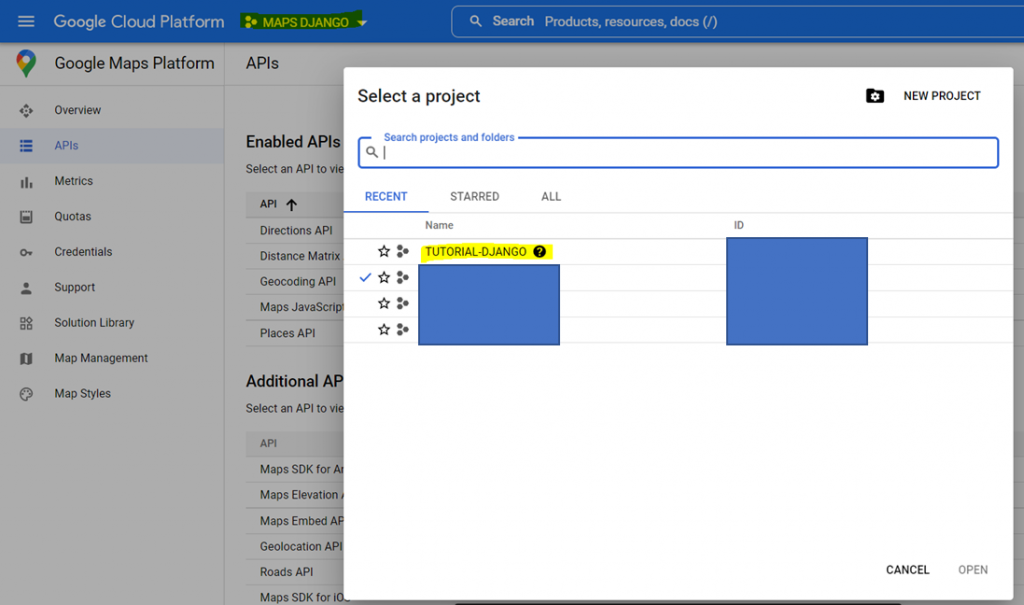
Click on the project in the blue bar at the top. A pop up window will appear where we can select a new project.
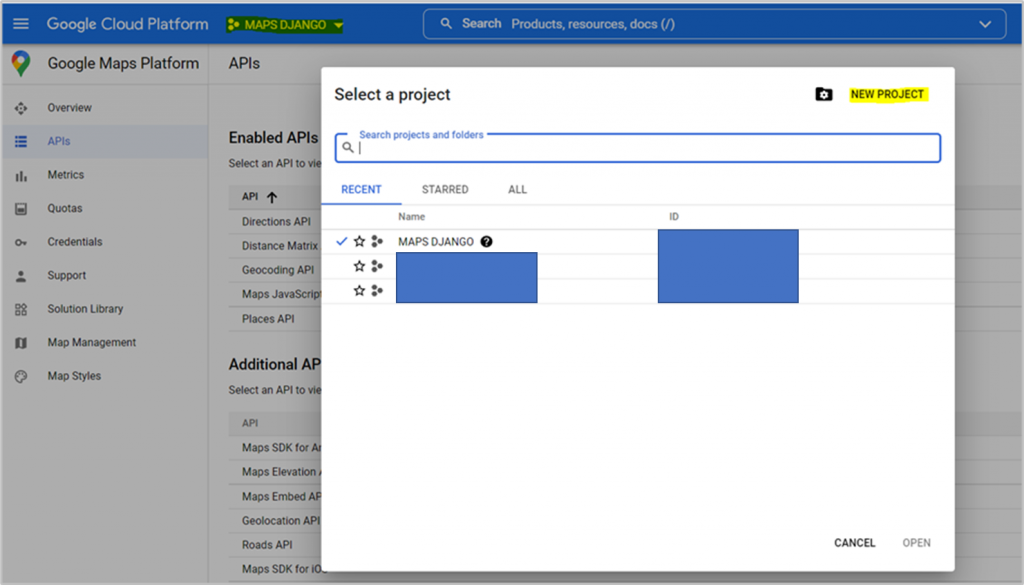
Give the project a name of your liking, and click on create.
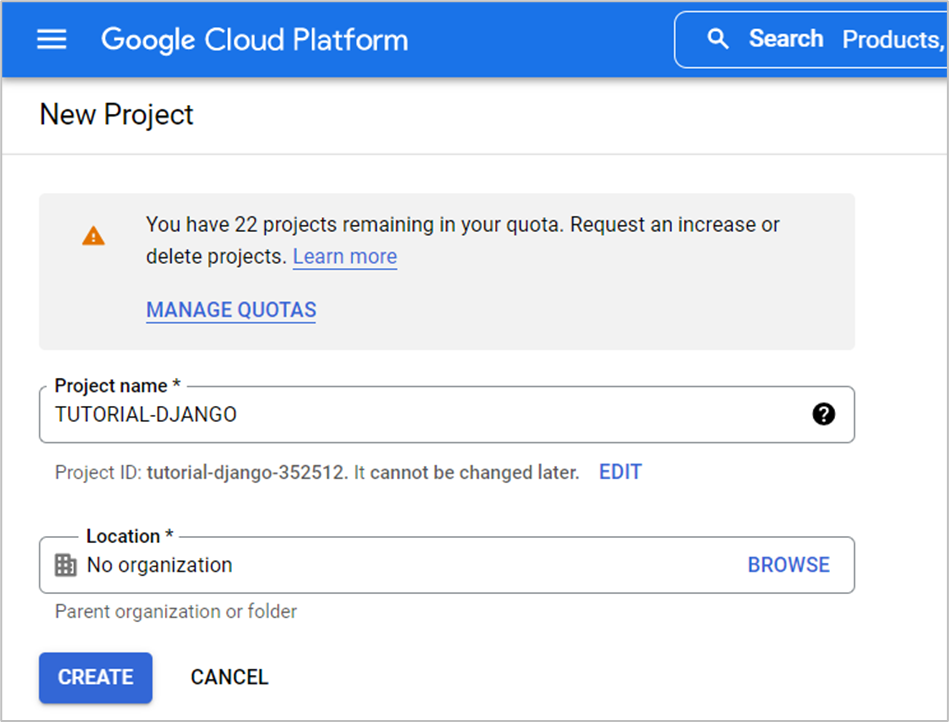
Click on the project in the blue bar on the top and open the newly created project. In my case TUTORIAL-DJANGO.
We are now in our project, and ready to enable some APIs!
Enabling Google Maps APIs
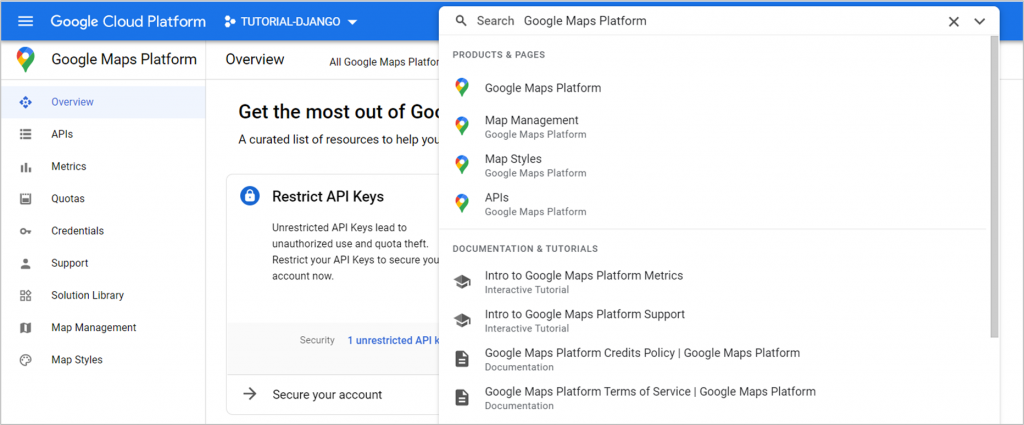
It is time to enable the APIs that we plan to use in this tutorial series. Search for Google Maps Platform in the search box and select the top result. This will bring you to the page where we can view the maps APIs.
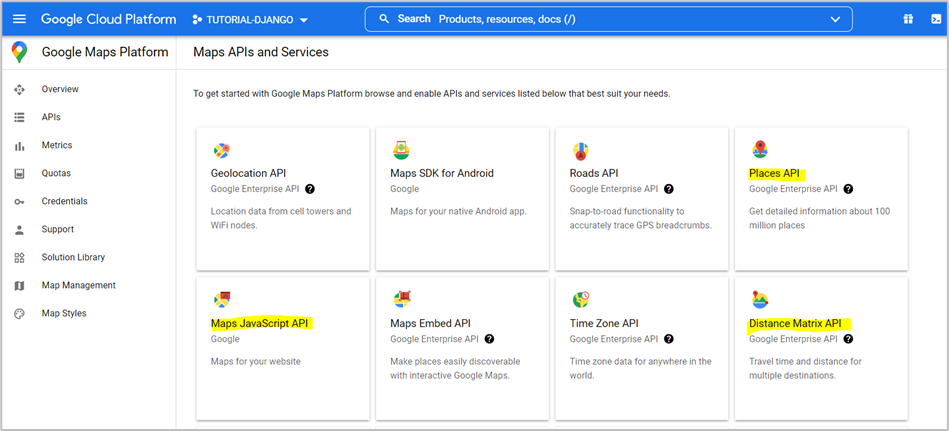
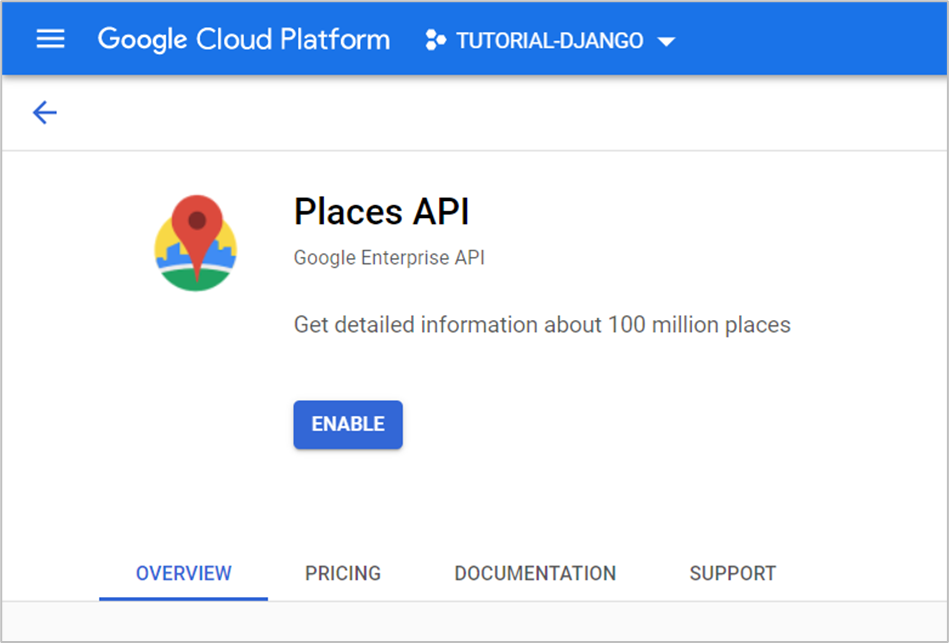
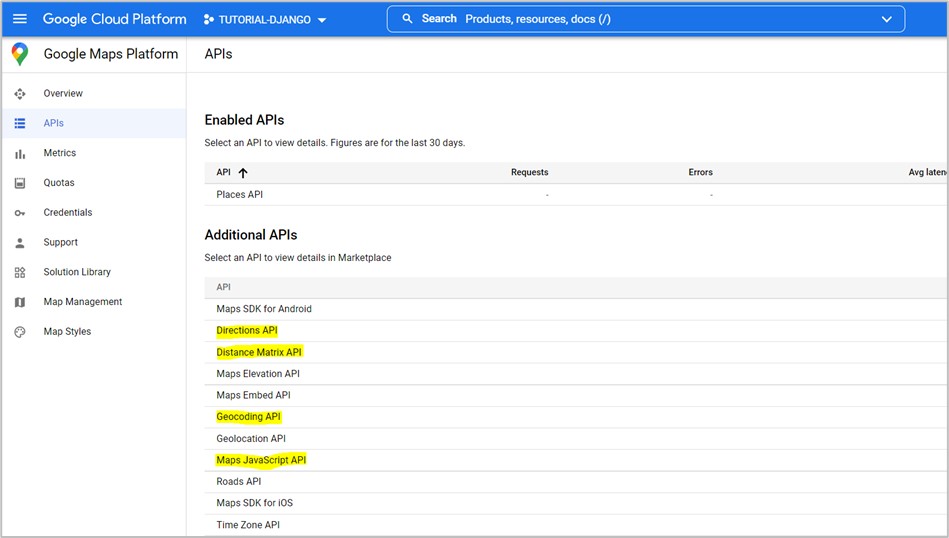
On this page you will see all the available maps APIs. The highlighted APIs are some of the ones we will need in this series. We start by clicking on the Places API.
Click on Enable to add the API to our project.
Google will now show us a screen with the enabled APIs. Under additional APIs you are able to add more APIs to the project. One by one, select and enable the following APIs:
- Directions API
- Distane Matrix API
- Geocoding API
- Maps Javascript API
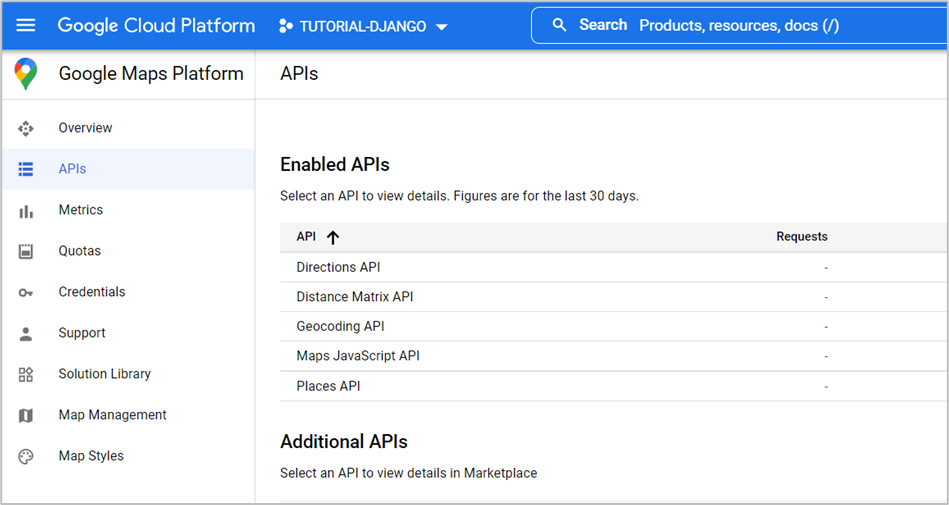
In the end your overview should look like this.
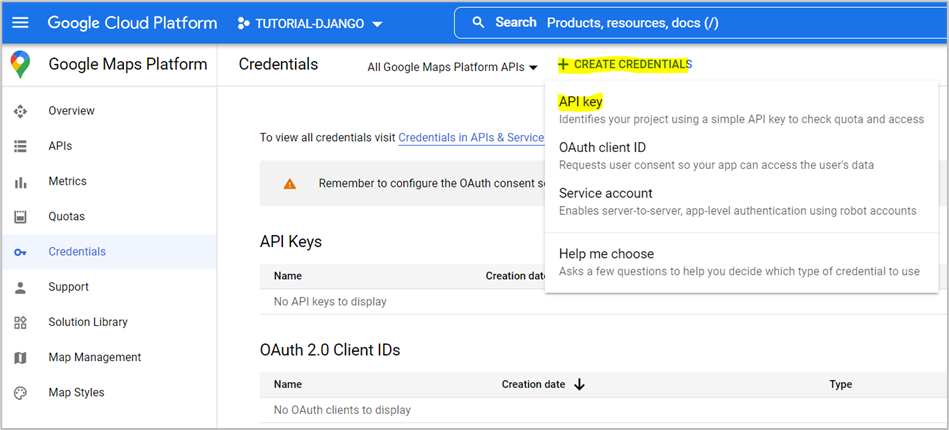
Generating credentials for the API
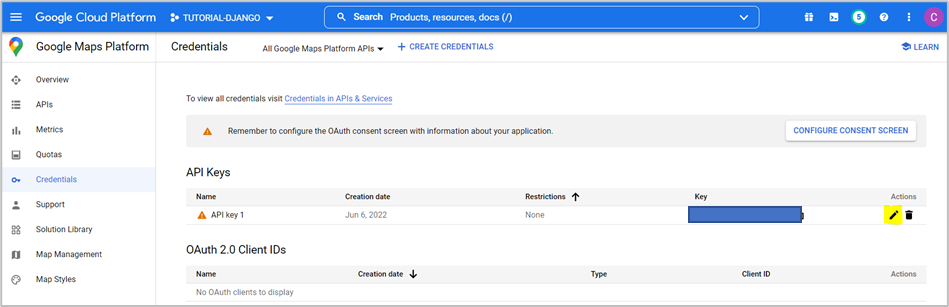
In order to use the API we need to generate credentials for our Django application. In the menu on the left select credentials. Click on create credentials and select API key.
Google will generate your credential string. Copy this string, and paste it in a text file or word document (we will need it later).
Keep this string to yourself. You do not want other users to execute jobs on your account.
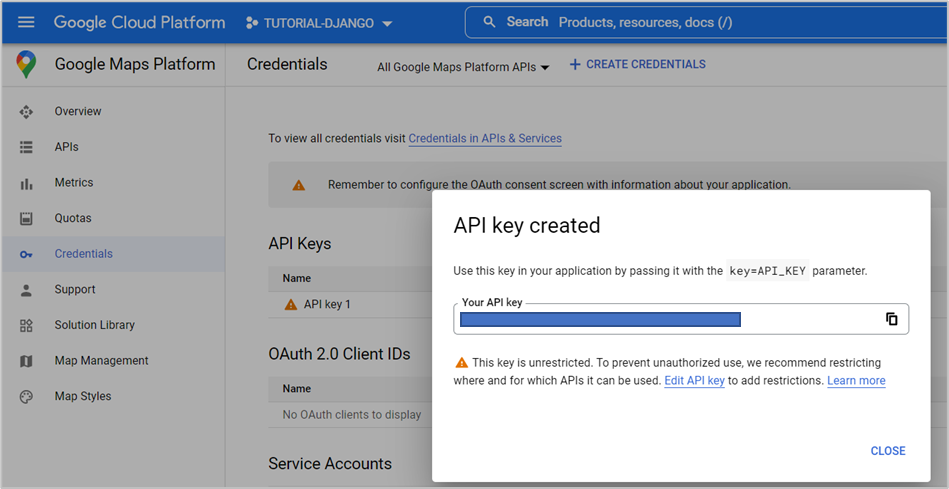
If you want to rename of view your key, you can click on the edit icon in the API Keys table.
Add a billing account to your project
Unfortunately, the API key will not work unless you add a billing account to your project. This means that you will need to link a bank account or credit card to your Google Profile, and then link it to your project.
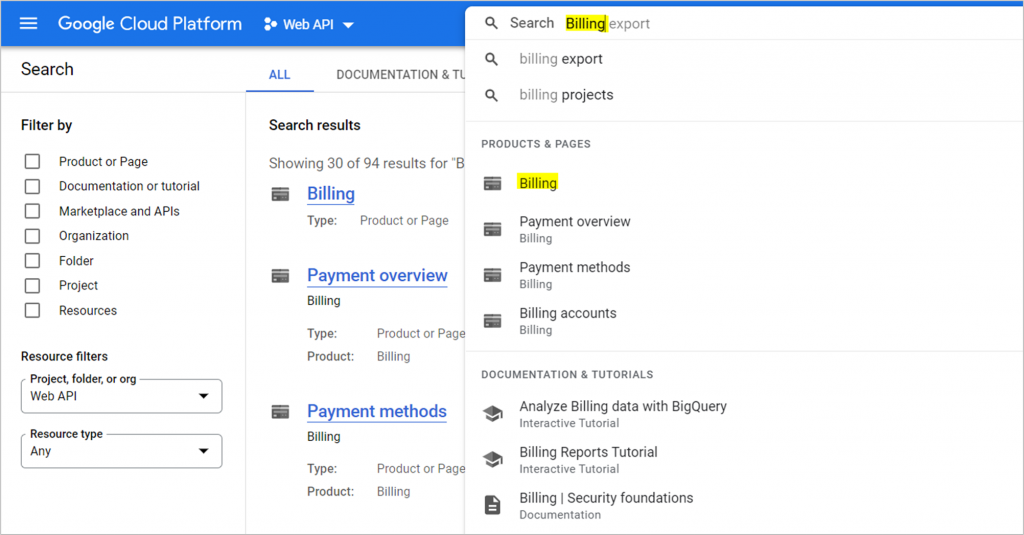
First, search on billing in the top bar, and select Billing.
You will see a pop-up window, select link a billing account.
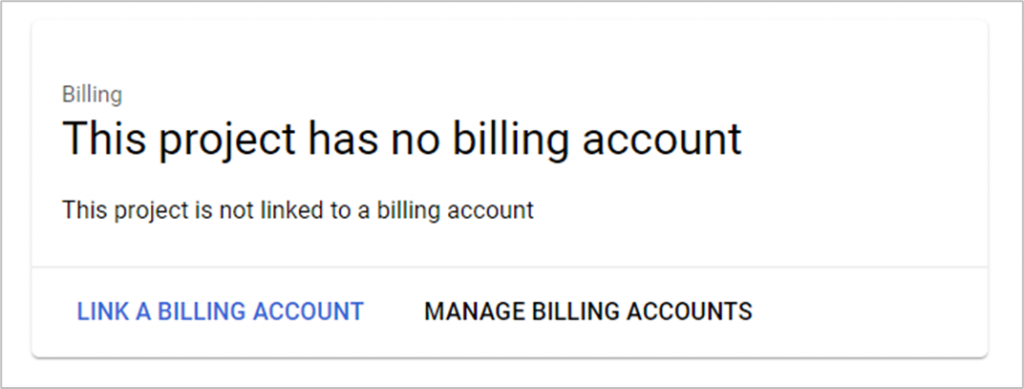
You can either link an existing billing account to the project, or follow the steps to create a new billing account, and link that one to the project.
Adding the API key to the Django application
The last step is to add the API key to the settings.py file of our Django Application. Navigate to the settings.py file in your application, and add your credentials (from earlier) to the settings.
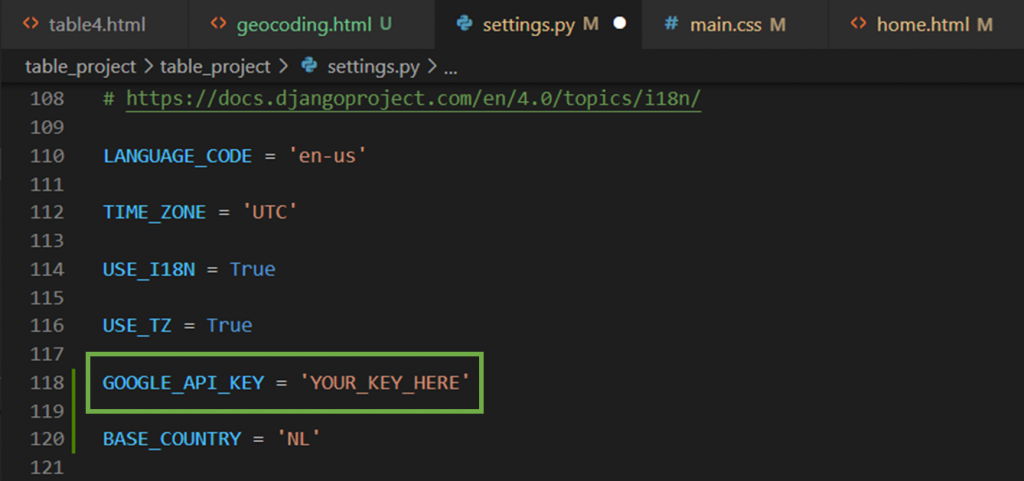
Beware, always use environment variables if you move the app to production.
We are ready to use Google Maps in our Django app
We have succesfully set up our Google Maps APIs for our Django application. In the next blogposts we will show how the Python client can be used for geocoding, reverse geocoding, displaying maps, and calculating distance.


