In this blogpost we will illustrate how you can push a django project to Github with the help of Git. Git is a software package used for version control of your source code. It enables you to update your code, whilst still being able to view your previous versions. In addition, all changes to the code will have a description and user, so you know exactly who made changes when. Github is the platform where you can store your code. In this blogpost we will install git, configurate our project, create a github repository, and show how we can update our code as we extend the code.
Install Git
Git is the software that executes the commands and pushes code to github. We first have to install git on our computer. I have already done this, but if you haven’t, please go the git website and install the version for your operating system.
Config Git in your project
Now that git is installed, we will have to congifure git in our project. Open a terminal in your coding project. First we need to configure our username. This username is shown when you update the code to Github. Execute the following command to set the username.
git config --global user.name "Your Name"Now we need to set our email adress. You can do this with the following code.
git config --global user.email "your@email.com"After setting our email we use the following two commands to set some additional settings for code pushing.
git config --global push.default matching
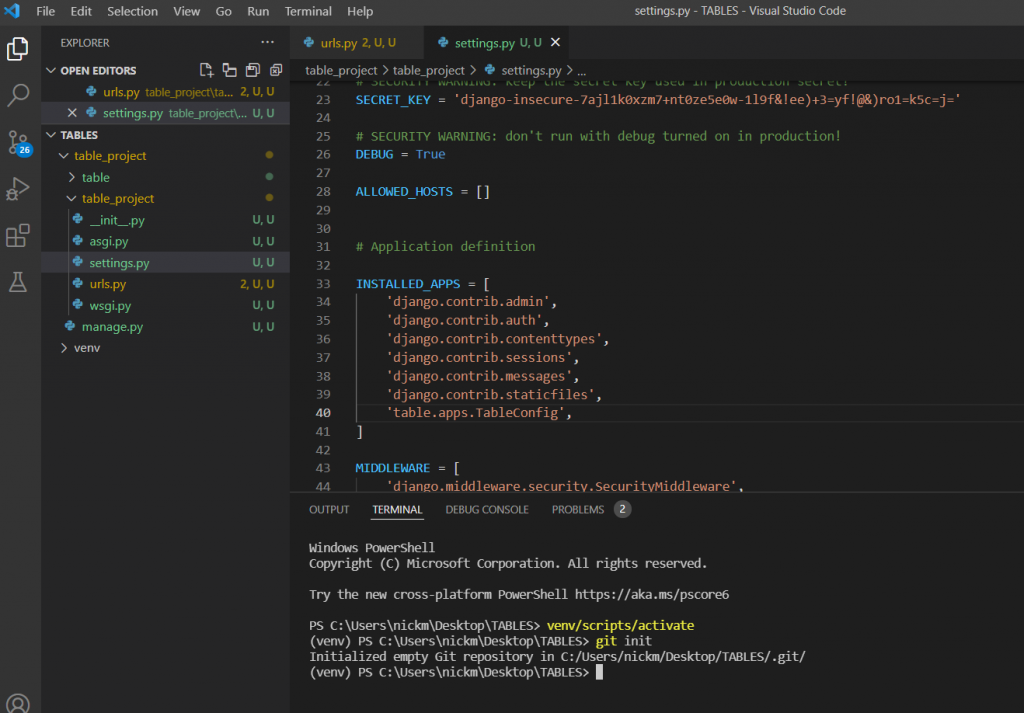
git config --global alias.co checkoutAfter this initial configuration we can now initiate git in our project with the following code.
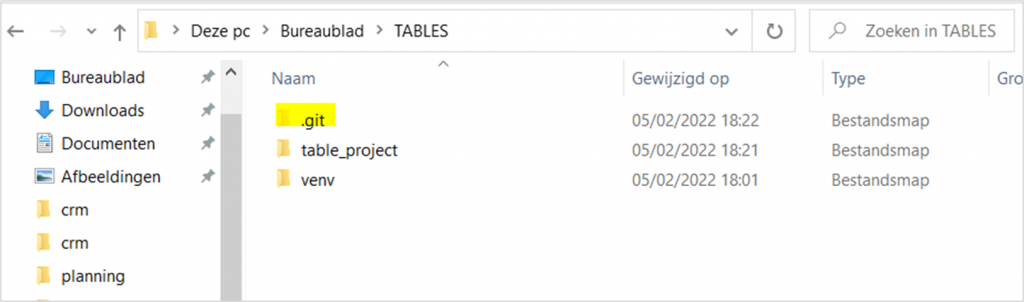
git initYou will now get a confirmation that git is initialized. If you go to your file explorer you will see that a hidden git folder has been created. In your code editor (at least for Visual Studio Code) the files that are modified or new will be highlighted, so that you know what files have modifications or are new.
Save code in repository
We are now able to store all our code in the repository we created. As I mentioned before, visual studio code clearly indicates that I have files that are modified and new, and these need to be stored in my repository so I can push these changes to Github later.
We can store all of our files in our git repository with three commands. First, we need to indicate which files we want to store in the repository. In this case we want to store everything, so we indicate that with a dot.
git add .Now we need to commit these changes, and we can add a message that indicates what we have changed.
git commit -am 'first commit'This text will later on be visible in our github repository. We now need to push our files and message to the repository. However, we do not have one. So now we move over to creating a SSH key and a github repository so we can push our source code to a repository.
Create a SSH key
The first step we need to take before we create a repository for our project is creating an SSH key. This key allows safe communication between our computer and github. Go to your terminal and type in the following code. Beware: you need to deactivate your virtual environment if you are using one.
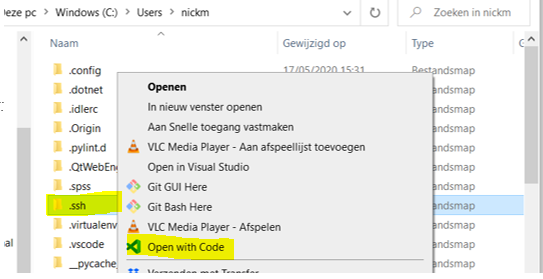
mkdir ~/.sshThe terminal will now ask you to set a password to protect the ssh file. I do not use a password, so I clicked enter in password and enter password again. Feel free to add a password if you like. A ssh file is now created in a new directory. Now navigate into your .ssh folder, and type in the following command to get your full ssh key.
PS C:\Users\nickm\.ssh>

cat id_rsa.pub
Beware, you cannot just open the file in the ssh folder and copy the string on your clipboard. The command above will also include a ssh-rsa text, and specify the laptop and laptopname with your key. This is essential, because the key alone is not enough for Github.
We need to store the generated key in Github. That way Github is able to compare keys, and assure that you have the rights to upload your code to the account. Login to your Github account, and go to settings. Now click on the menu item SSH keys an GPG keys.
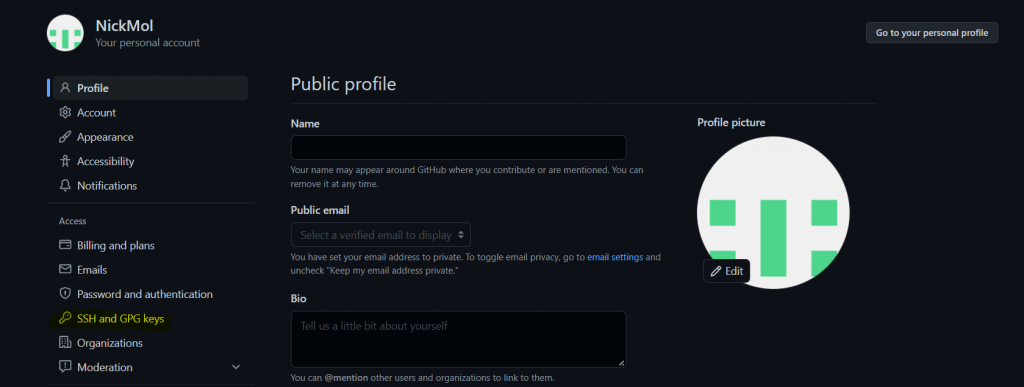
Now add the SSH code that you received in the following step, and save the entry. You do not need to add a title. You will now see your key in the SSH and GPG keys page.
Create Github repository
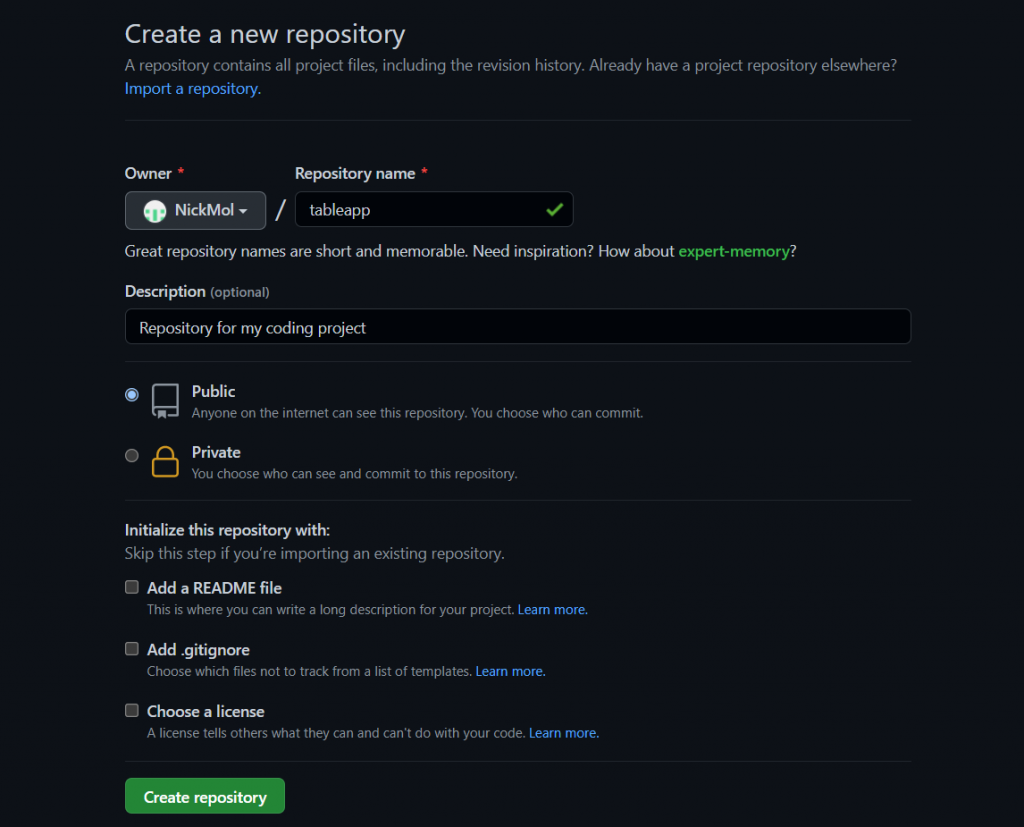
To start working on github, your first need to create an account. You can do that here. Now we are going to create a repository. Click on New, and choose a name and description for your repository. You have the option to make the code public or private. Public means that everyone is able to access your code. For hobby projects this is fine, it will allow people to check out your cool projects and evaluate your skills for possible jobs. However, if you do client work I recommend you keep the code private.
Now click on Create repository.
We now get a set options presented by Github. We can create a new repository on the command line, or push an existing repository. We need to push the existing repository.
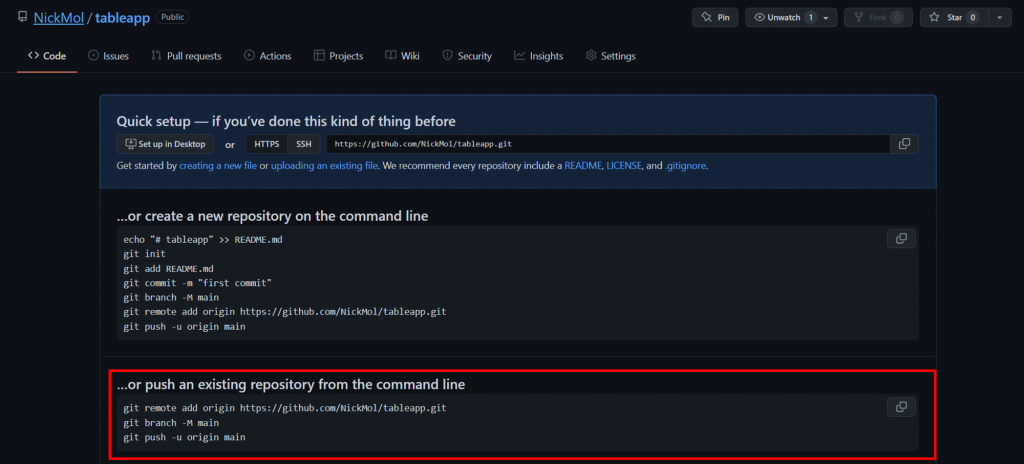
Now we need to execute the commands in the red box in the image above for our coding project. Go back to your coding project, and copy the first line of code in your terminal. Beware, the command will be different than mine, since you will have a different username and or project name.
git remote add origin https://github.com/NickMol/tableapp.gitNow we execute the commands on the second and third line, which will push our code to the designated Github repository.
git branch -M main
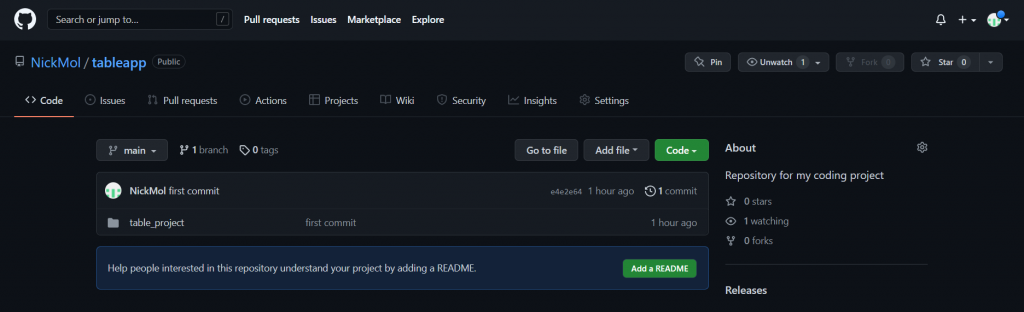
git push -u origin mainWe have now succesfully pushed our django code to the Github repository!
Updating code
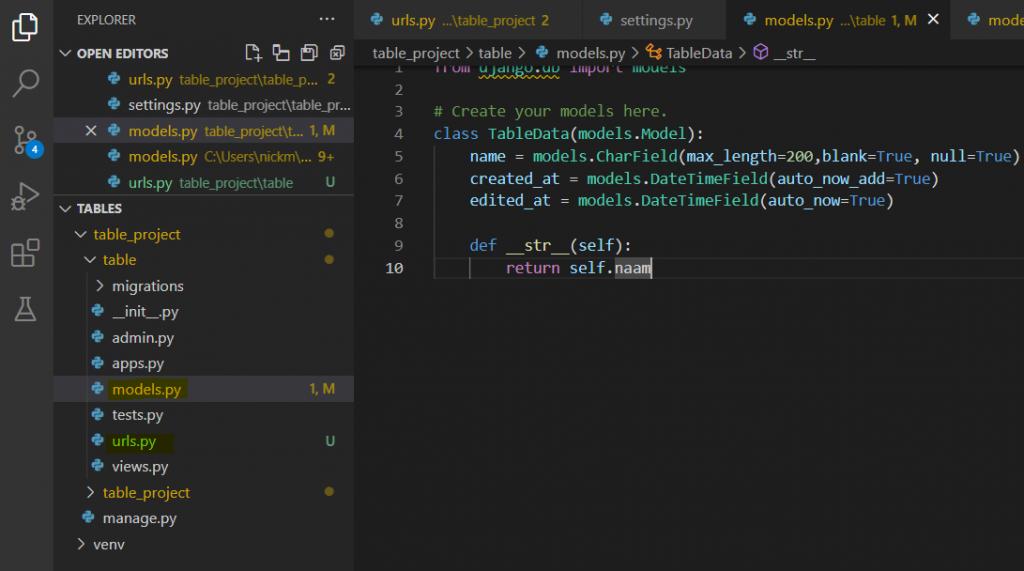
If we now make changes to our code, our code editor will show what files and code parts are new. In the image below you can see that our models.py file has been modified (M), and that our urls.py file is new (U).
We can push all of our changes to our Github repository by executing the same three commands in our terminal.
git add .
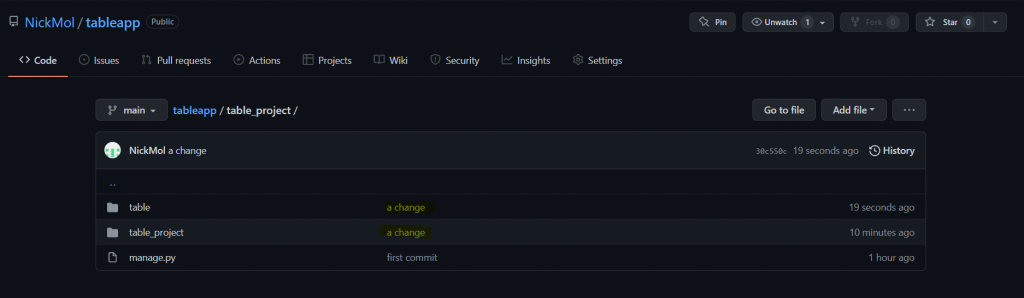
git commit -am 'a change'
git pushIf we now look at our repository, you will see this description for the files that we have changed.