


In this tutorial series we will focus on sending emails through our Django app with Gmail. Over the course of three posts we will explain:
- Configuration and Basics of Sending Emails with Gmail
- Using Nice Looking HTML Templates on your emails
- Passing in variables and links into your emails
In this post we use nice looking HTML templates for the emails. The full code of the project is available on GitHub. Videos of the tutorial are available on Youtube.
Focus for today
In today’s blog post we will:
- Creating an HTML Template for our emails
- Adding the template to our code
- Changing our views.py
- Sending a beautiful email
Creating a beautiful HTML template
I am using beefree.io to create beautiful html templates for free. I have created an account to save my designs but you don’t need to do this to use it!
You don’t need to provide any information for sigining up. Everything is free!
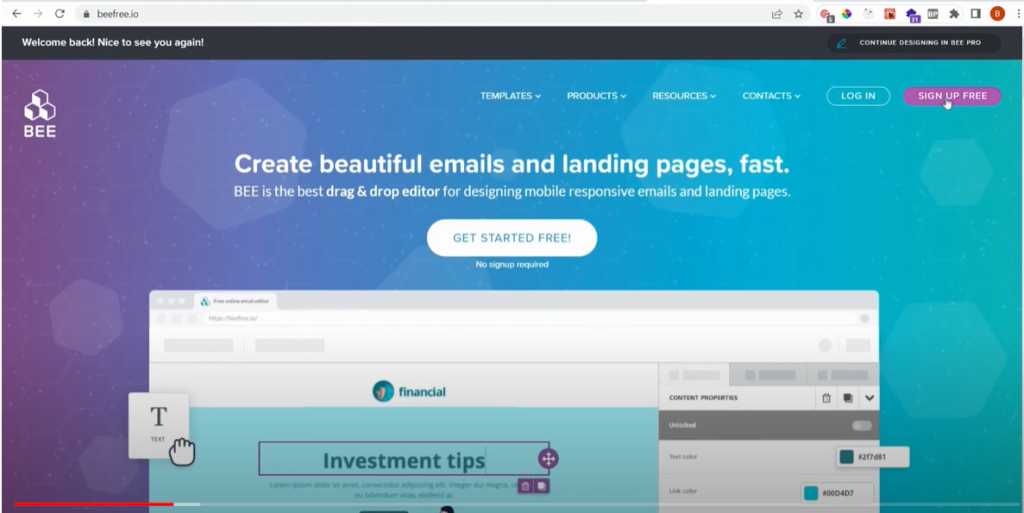
After you sign in or click on get started for free without an account you can go to their template libraries. You pick a design you like and start customizing it!
Designs are grouped per category and industry. The templates under automation are especially valuable if you are creating applications. Standards such as password reset are so useful.
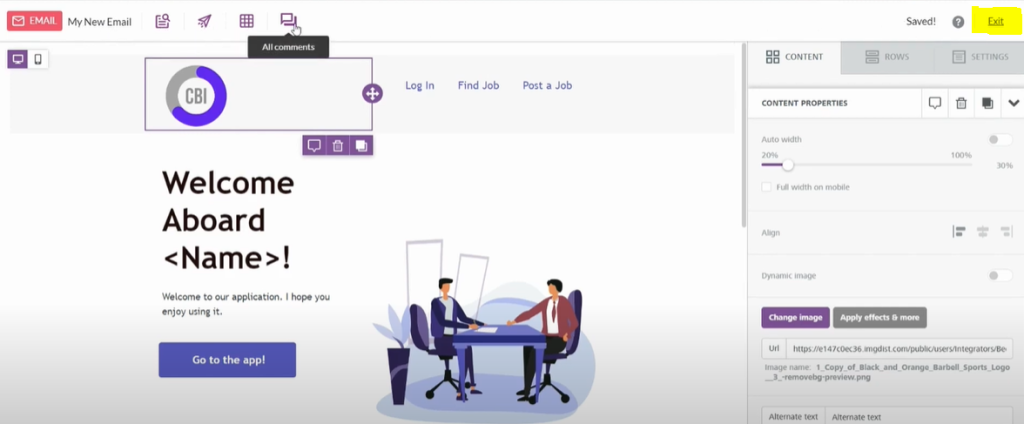
I have picked a welcome email and made some small changes which I show in the video. Once you are happy with your template you can export the HTML. I have created an account to save my designs so I can make changes later.
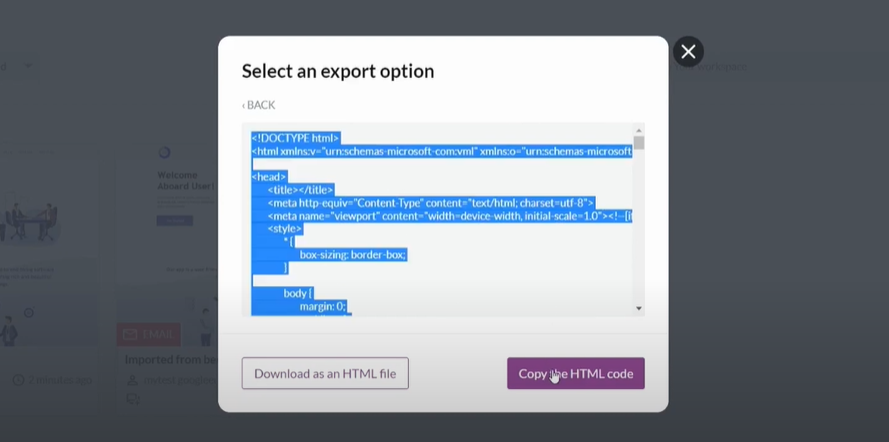
To export the design when you have an account:
- Click on exit on the top right of your design screen.
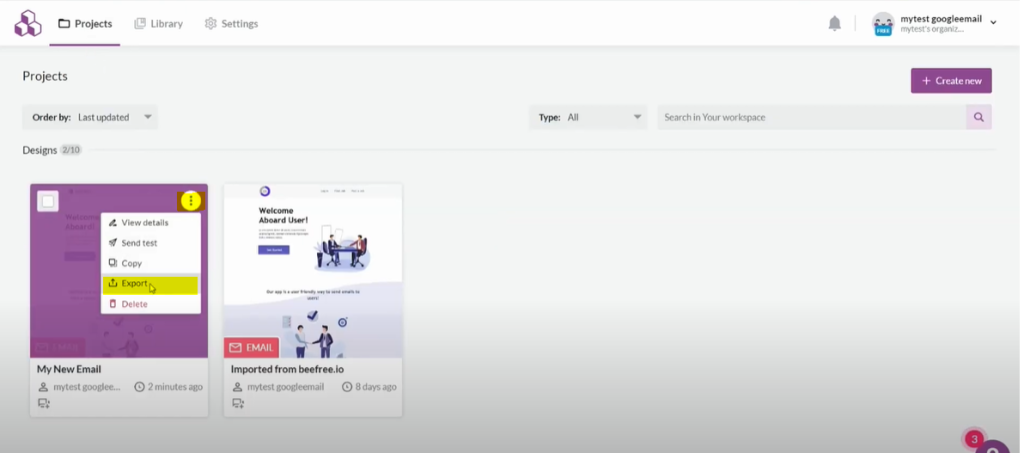
- Click on the three dots next to your design, and then select export.
- You get a few options for exporting. I pick copy the HTML. This leaves the images online, which is the easiest option.
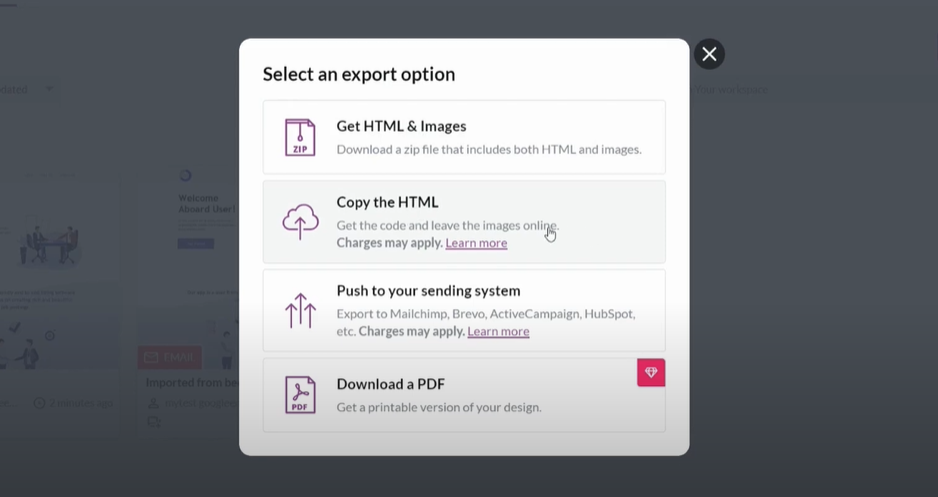
You can also get HTML & images, but then you need to save images in your static folder and put a link to that image in your HTML template. This is much harder..
- Click on copy the HTML code
Adding the template to our code
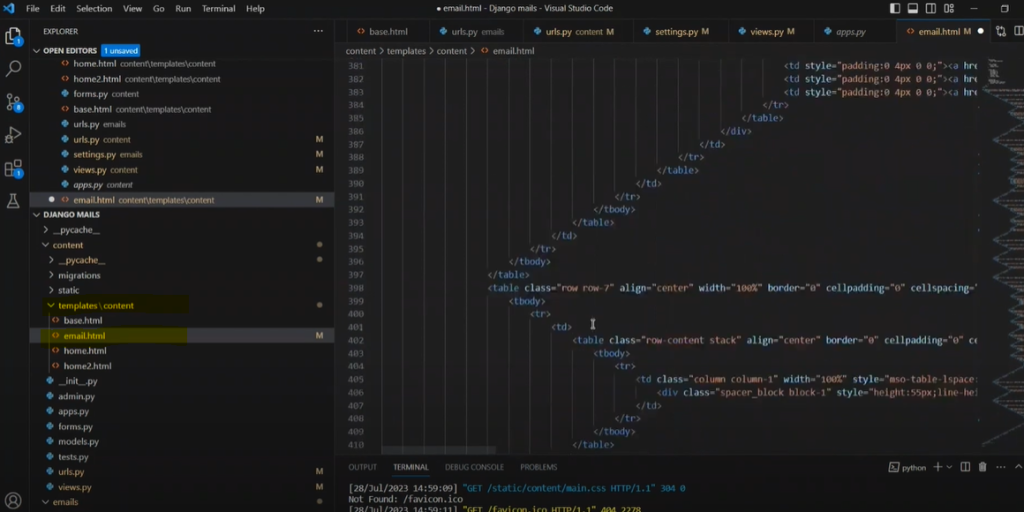
Adding this to our code is very simple. Go to your templates folder in your Django project and follow these steps:
- Create a new file called email.html.
- Paste the HTML code in the file.
- Save your file.
Changing our views.py
We need to make some changes to our views.py file since the send_mail function we use can’t send HTML templates. We replace the send_mail function with this code:
from django.core.mail import EmailMultiAlternatives
from django.template.loader import render_to_string
from django.utils.html import strip_tags

...
  html_message = render_to_string("content/email.html")
  plain_message = strip_tags(html_message)

  message = EmailMultiAlternatives(
       subject = <YOUR SUBJECT>,
       body = plain_message,
       from_email = None ,
       to= [<YOUR_RECIPIENT>]
        )

  message.attach_alternative(html_message, "text/html")
  message.send()

...
We start with some imports (none of them require installations):
- We use EmailMultiAlternatives since this function can send emails with HTML templates.
- render_to_string is used to render our HTML template in our email.
- The strip_tags removes all HTML tags, which we need to get the plain text from the email.
Next we declare the variables html_message and plain_message.
- html_message points to our email.html file we have just created. This is the message with formatting which we will be sending.
- The plain_message is our HTML but without all of the tags (that’s why we use strip tags).
Then we declare the message using EmailMultiAlternatives:
- Subject: Your subject line.
- Body: Is the plain text we defined in the plain_message.
- From_email: We set it to None since we want to use the value we set in our settings.py file.
- To: The recipients of your emails.
We then use the message and attach some alternative things with attach_alternative().
- We state that we want to use our HTML message.
- We specify that the format is text/html.
Finally, we state that we want to send the message!
Sending our nice looking email!
I triggered the email function from my app, and in my email I receive this beautiful template!
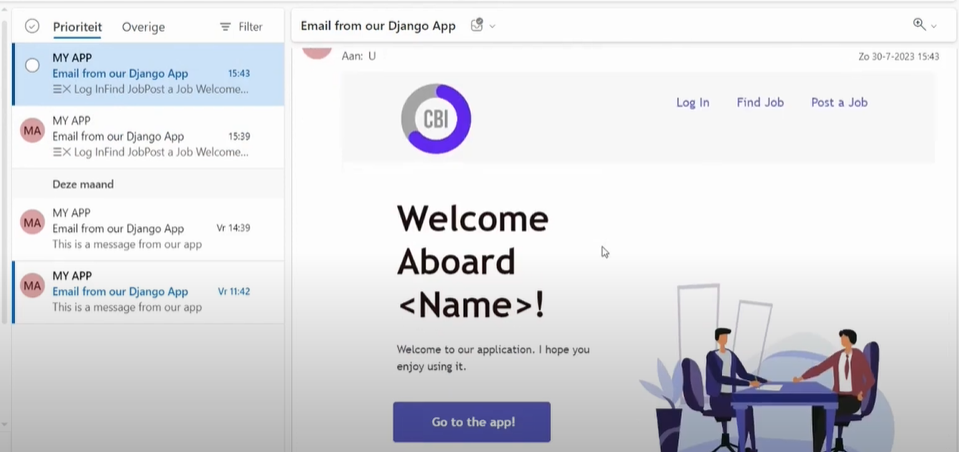
Although, at this moment our email is generic… In the next post we will add user variables and pass those to my email template.


