In this tutorial we build a full stack scheduling application with Python Django in the backend, and ReactJs in the frontend. In this article we will install the necessary packages, and make sure that our backend is ready for further development. Beware, in this tutorial we assume that you have some knowledge of Python Django, Javascript, and working in a code editor.
The full code is available here.
Pre-requisites
During this project I will use Visual Studio Code as my code editor. If you want to you can download it here. You don’t need this specific editor, you can use whatever editor you like. I have also already installed Python on my computer (version 3.8). You can install the latest version of Python here.
Base folder and setting up a virtual environment
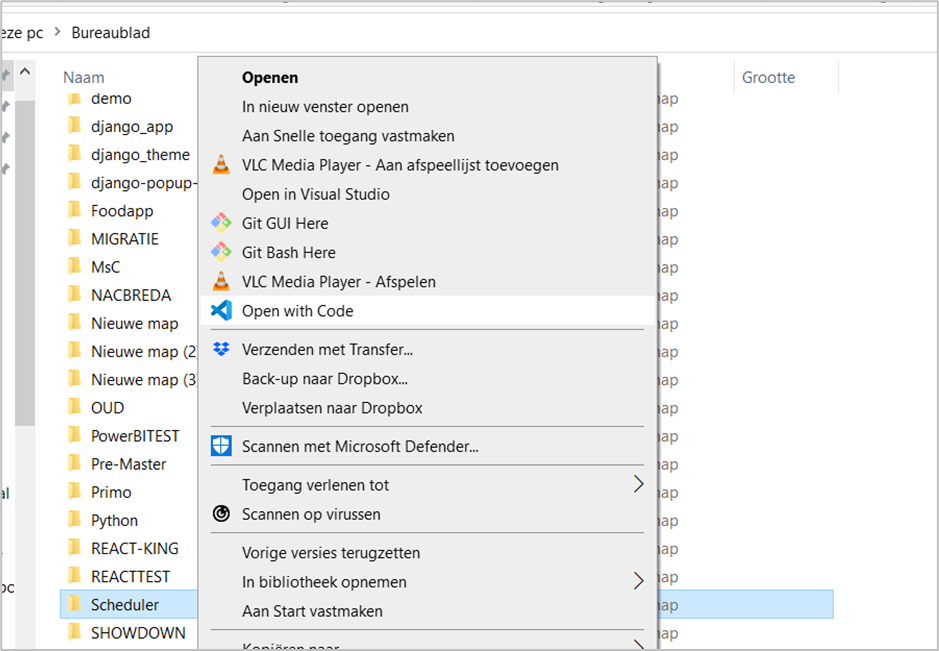
I have created a new empty folder on my desktop named Scheduler. If you right click on the folder and select open with code the folder will be opened in Visual Studio Code.
We open a new terminal in visual studio code and create a virtual environment to track all the packages we install during the development of this project. To create a virtual enviroment, type the following commands in the terminal:
PS C:\Users\nickm\Desktop\Scheduler>

python -m pip install virtualenv
python -m virtualenv venv
We have now created a virtual enviroment. To access this environment, type in the following command:
PS C:\Users\nickm\Desktop\Scheduler>

venv/scripts/activate
Installing packages
Now we need to install some additional packages for our applications. We start with NPM, Django, and DjangoRestFramework (DRF).
(venv) PS C:\Users\nickm\Desktop\Scheduler>

npm install -g npm
python -m pip install Django
pip install django djangorestframework
You can check whether the packages are installed by checking the version.
(venv) PS C:\Users\nickm\Desktop\Scheduler>

node -v
npm -v
python -m django --version
Installing some extensions in Visual Studio Code
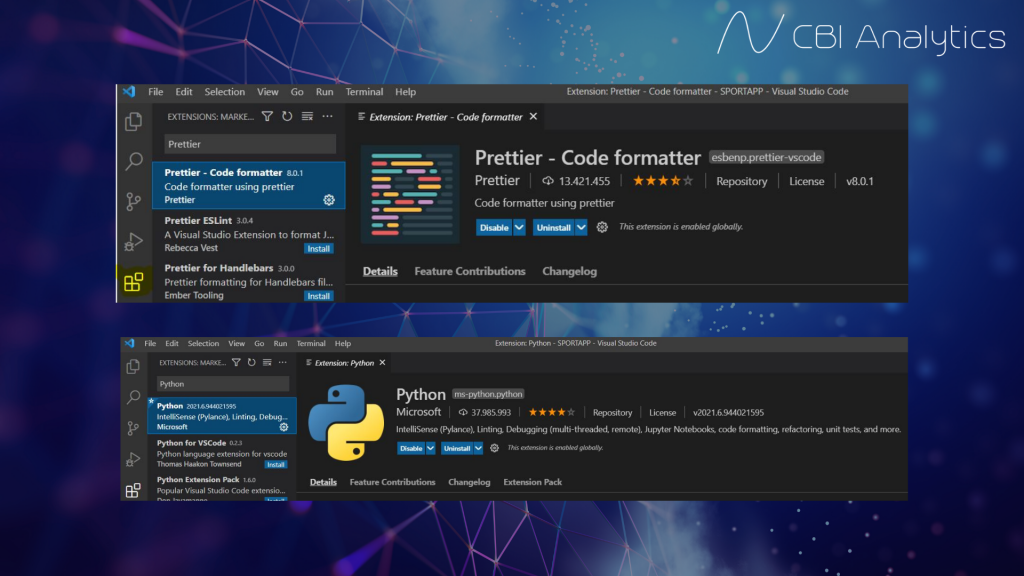
There are a number of extensions that can ease the coding process. Click in the left menu in visual studio code (yellow icon on the image below) on the extensions tab and enable the following extensions. Of course they are all free.
- Prettier – A code formatter
- Python
- Django
- ES7 React/Redux/GraphQL/React-Native snippets
- JavaScript (ES6) code snippets
Create a Django project
We are now going to create a Django project named scheduler-project. This is our overarching django project, and will function as the backend of our application. Here we can create the api’s that are going to be consumed by the frontend (React).
(venv) PS C:\Users\nickm\Desktop\Scheduler>

django-admin startproject scheduler_project
We are now going to navigate into this folder by executing the following command.
(venv) PS C:\Users\nickm\Desktop\Scheduler>

cd scheduler_project
In this Django project we are going to create an app. An appis a small part in the Django project. It is smart to divide your project in multiple smaller apps, because it will make your project and code more clear and managable. We now create a first app called api_events.
(venv) PS C:\Users\nickm\Desktop\Scheduler\scheduler_project>
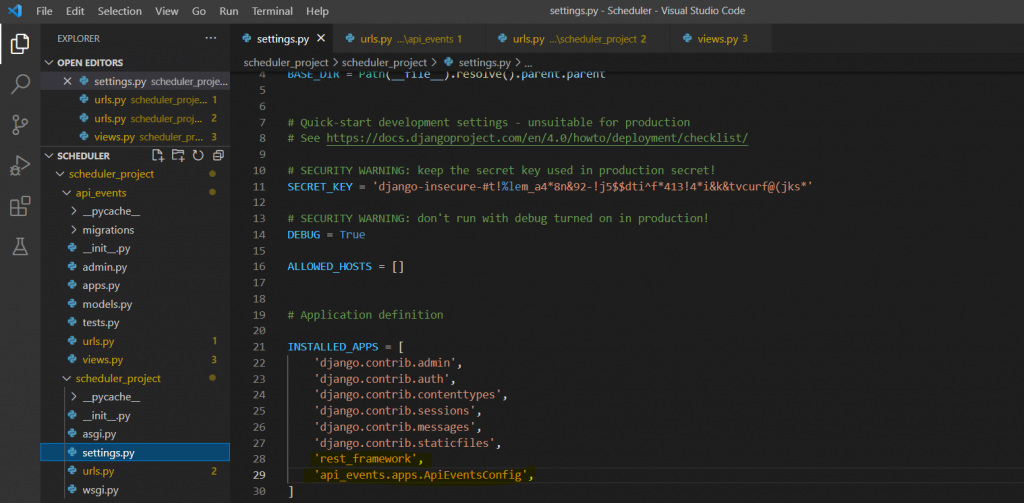
django-admin startapp api_eventsNow we need to register the api_events app and the django rest framework in the installed apps section of the settings.py file.
Create URLs
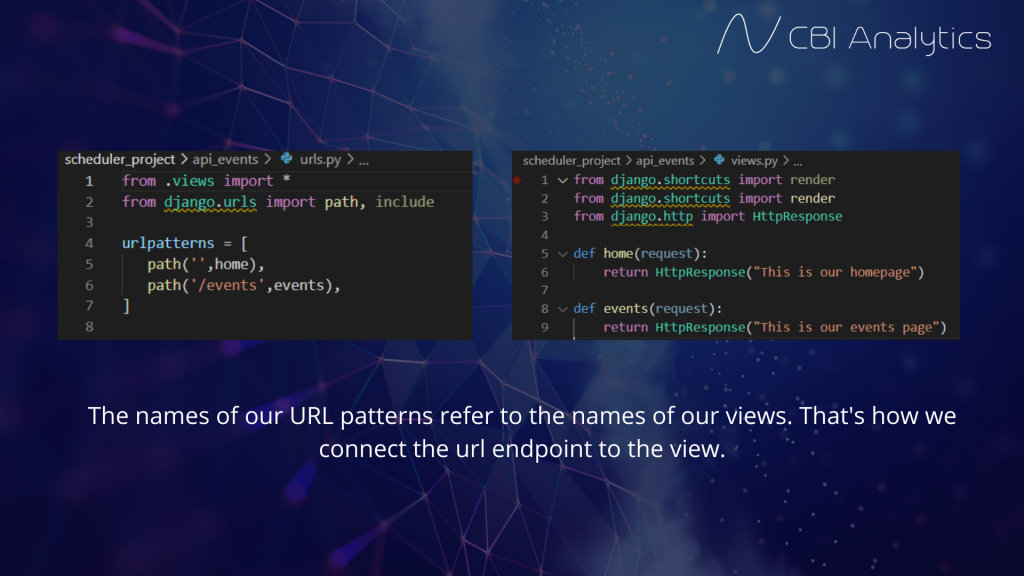
Now we can create the first urls of our application backend. Create a file named urls.py in the api_events app. In this file we write the following code.
scheduler_project\api_events\urls.py

from .views import *
from django.urls import path, include

urlpatterns = [
   path('',home),
   path('events',events),
]
We now need to let the overarching Django project know that we have created these urls in our project. Therefore, we will now include these urls in our urls.py file of the scheduler_project folder.
scheduler_project\scheduler_project\urls.py

from django.contrib import admin
from django.urls import path, include

urlpatterns = [
    path('admin/', admin.site.urls),
    path('',include('api_events.urls')),
]
Creating a view
To check if everything works as it should, we are now going to create a basic view for these two pages. Go to the views.py file in our api_events folder, and write the following code.
scheduler_project\api_events\views.py

from django.shortcuts import render
from django.shortcuts import render
from django.http import HttpResponse

def home(request):
    return HttpResponse("This is our homepage")

def events(request):
    return HttpResponse("This is our events page")
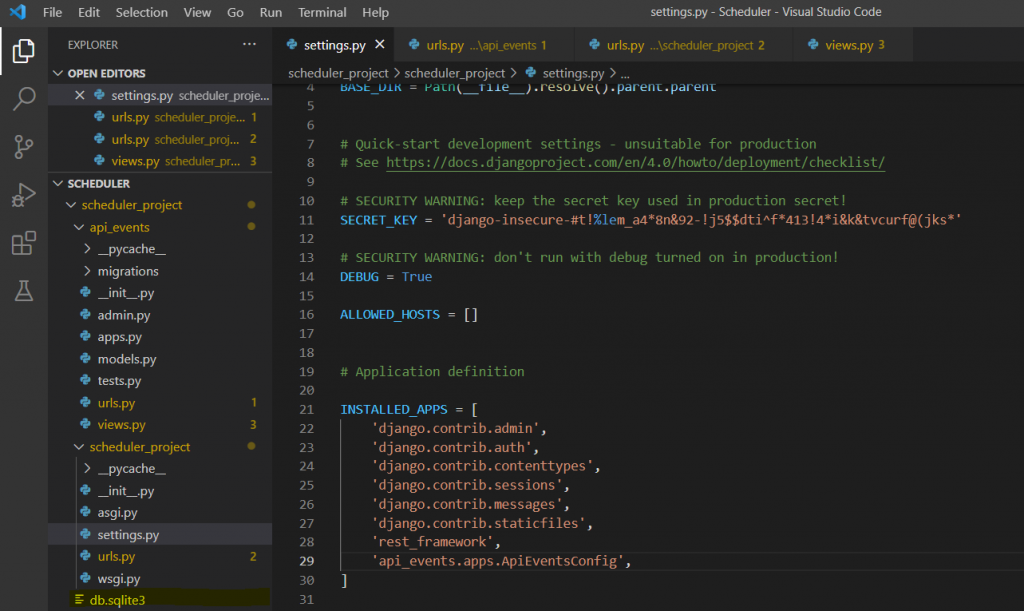
Initializing database
We are now going to initialize our SqlLite database that we will use in development. When the project is pushed to production, we will switch the database to PostgreSQL. Execute the following commands to initialize our database.
(venv) PS C:\Users\nickm\Desktop\Scheduler\scheduler_project>

python manage.py makemigrations
python manage.py migrate
The database had now been created. You will see db.sqlite3 in your folder structure.
Let’s test if everything works correctly
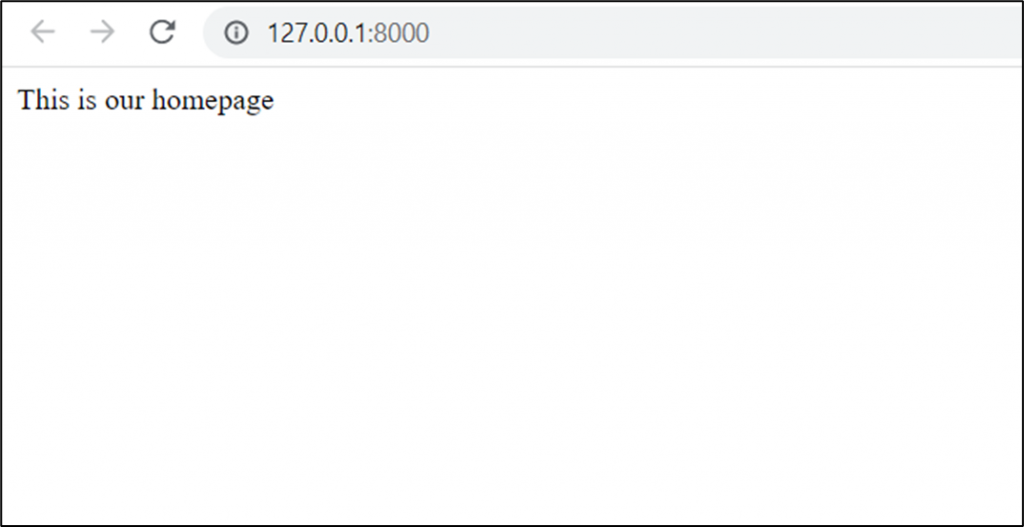
After all these installs and settings it is time to check whether our backend is working. To run our server, type in the following command:
python manage.py runserver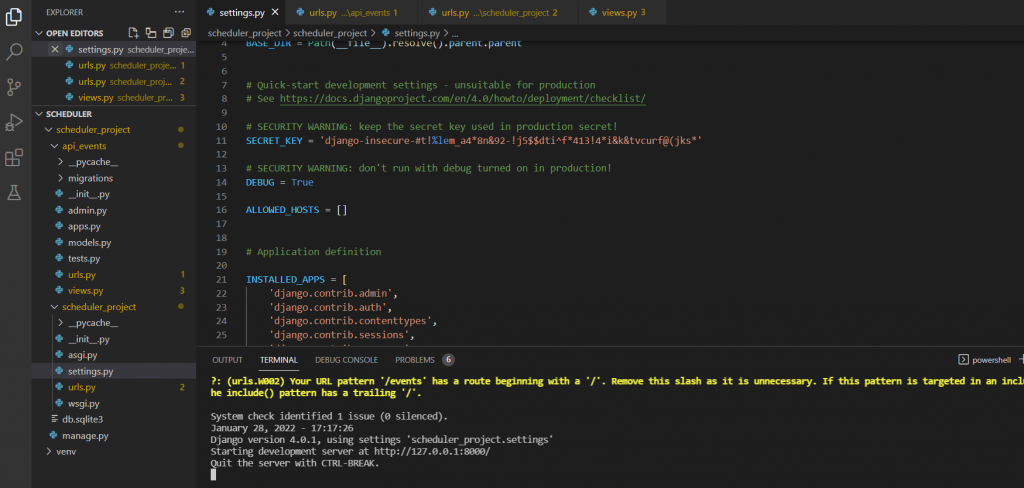
You should now see a message that our development server is running at http://127.0.0.1:8000. If you click the link, or navigate to the web adress in your browser, you should see the text that we specified in our home view. If you navigate to http://127.0.0.1:8000/events you should see the text specified in the events view.
Backend is set up!
We have succesfully set up our Django backend. In the next blogpost we will continue by creating database models, and use django rest framework to create API endpoints.
NEXT STEP: Python Django & React tutorial #2: Django Rest Framework and API endpoint