

In this tutorial series I show how you can use the Google Maps API in your Django application. This API can be used for geocoding, reverse geocoding, distance calculations, and displaying maps in your application.
In this post we will use the Google Maps JavaScript API to create and style a map. This is not the 1st post in this series. In previous posts we focused on setting up the API in Google Cloud Platform, and Geocoding an adress string. Next posts will focus on placing markers!
Before you can use the Google Maps API you need the following things:
- Enable the Google Maps JavaScript API on the Google Cloud Platform.
- Specify the credentials of the API in the settings.py file of your Django app.
Both of these steps have been covered in a previous blogpost. The full project code can be found on my Github.

Creating our url, view, and template
Our first step is creating a new url and view within our project. Our url is called map.
from .views import *
from django.urls import path, include
from google import views as view

urlpatterns = [
   ....
   path('map',view.map, name="map"),
   ...
]
We also create a view called map. In this view we create a variable that holds our Google API key (originating from our settings.py file). We pass the key to our template through the context, and we specify that our template is going to be called map.html.
...
from django.conf import settings

def map(request):
    key = settings.GOOGLE_API_KEY
    context = {
        'key':key,
    }
    return render(request, 'google/map.html',context)
We add a new file to our template folder called map.html, and add the following code to the page.
{% extends 'google/base.html' %}
{% block content %}
{% load static %}
<div class="pageholder">
<div class="titleholder">
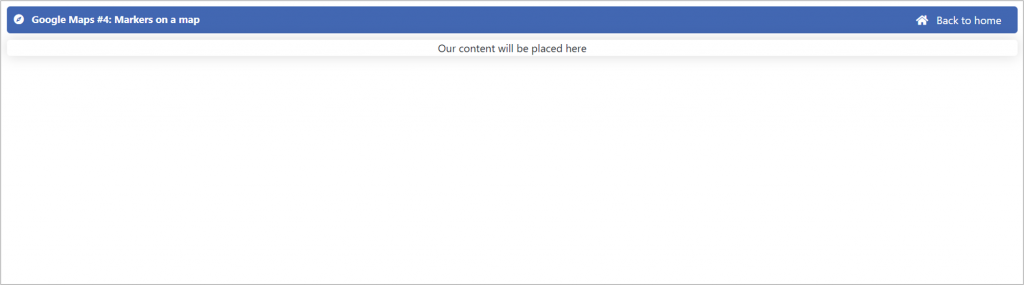
<div class="title"><i class="fas fa-compass mr-2"></i> Google Maps #4: Markers on a map </div>
<a href="{% url 'home'%}" class="title2 mr-4"><i class="fas fa-home mr-2"></i> Back to home </a>
</div>
<div class="linkholder">
Our content will be placed here
</div>
</div>
{% endblock content %}In our app we now see the following page when navigating to http://localhost:8000/map.
Adding a map
In order to add a map to our template we need to add three things to our code:
- A link in our base.html file
- Scripts and a div in out map.html file
- Some styling commands in our CSS file
First, we paste the link below in the head of our base.html file
...
<script src="https://polyfill.io/v3/polyfill.min.js?features=default"></script>
...
Next, we need to add a script on the top of our map.html file that initiates our map. This scripts initiates our map, and enables us to specify parameters. The parameters center and zoom are mandatory.
...
<script>
    let map;
    function initMap() {
    map = new google.maps.Map(document.getElementById("map"), {
        center: { lat: -34.397, lng: 150.644 },
        zoom: 8,
    });
    }
    window.initMap = initMap;

</script>
...
In addition, we create a div name mapholder to hold the map canvas. We also include a script tag with the actual request. In this request we specify our key (this is the key we passed from our view to the template) and trigger the script named initMap we included on top of the file.
...
<div id="map"></div>
<script
   src="https://maps.googleapis.com/maps/api/js?key={{key}}&callback=initMap&v=weekly"
   defer
></script>
...
I have excluded my additional html code from the two code snippets belonging to the map.html. The full html code can be viewed here.
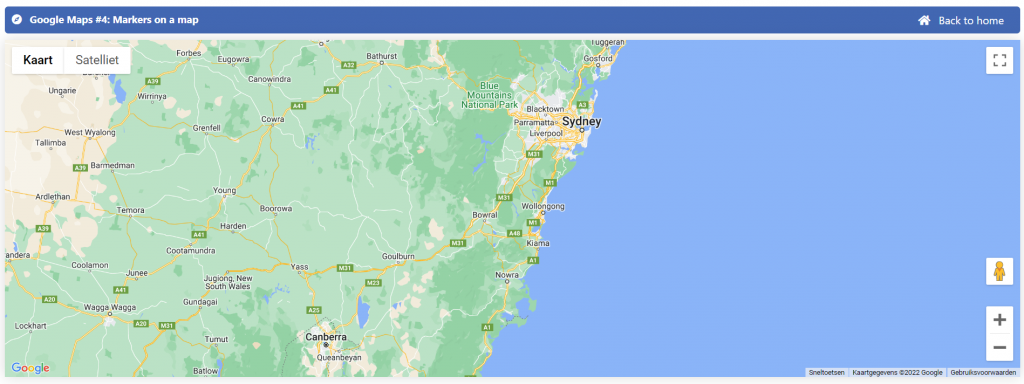
Last, we add some css to set the height and width of our mapholder. This is key to get the map displayed on your canvas.
...
.mapholder{
    height: 500px;
    width: 100%;
}

#map {
    height: 100%;
  }
...
If we start our server, we will now see the map in our browser!
Changing the map style
Within Google you have the option to pick different map styles. Currently there are four options:
• roadmap displays the default road map view. This is the default map type.
• satellite displays Google Earth satellite images.
• hybrid displays a mixture of normal and satellite views.
• terrain displays a physical map based on terrain information.
You can change the map type by specifying the mapTypeId parameter in the script in your map.html file.
...
<script>
    let map;
    function initMap() {
    map = new google.maps.Map(document.getElementById("map"), {
        center: { lat: -34.397, lng: 150.644 },
        zoom: 8,
        mapTypeId: 'satellite'
    });
    }
    window.initMap = initMap;

</script>
...
In the example I changed the mapTypeId to sattelite. In my app the view has now changed.
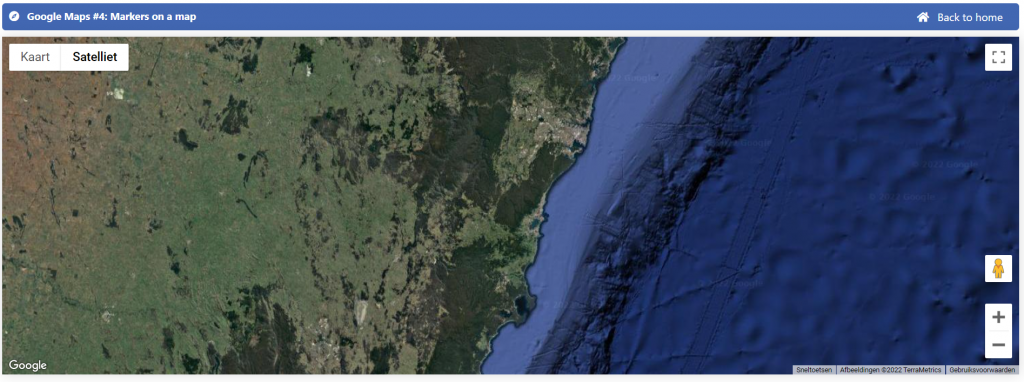
We have our map ready!
The map is now visible in our application. In the next blogpost we will focus on placing various markers on our maps with data from our database!


