

In this tutorial I will show you how you can deploy a Django & React application on Microsoft Azure. Over the course of several posts we will go through the following steps:
- #1: Architecture of Django & React deployment
- #2: Make changes to our source code
- #3: Push our code to GitHub with Git
- #4: Deploy Django code to Azure
- #5: Deploy React code to Azure
In the previous post we pushed our source code to GitHub with Git. In this post we focus on pushing our Django backend code to Azure.
The full project code is available on GitHub.
Steps for deployment
In order to complete our deployment we will:
- Create an Azure Resource group
- Create our PostgreSQL database and server
- Explaining our Azure resources
- Add environment variable
- Push our code to Azure with Github Actions
- View deployment in GitHub
- Fix our issues
- Migrate our database
- Create a superuser
- Test our backend & database
Creating an Azure resource group
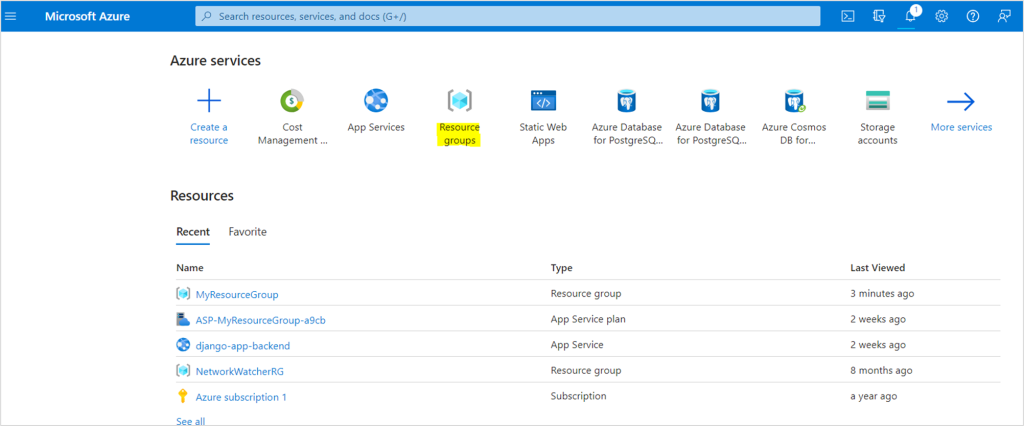
We immediatly start working on the Azure portal. Login with your credentials and you will see a homepage similar to the screenshot below.
We start by creating a resource group, which functions as a container for our resources. Click on resource groups on the homepage or search for the service in the top bar.
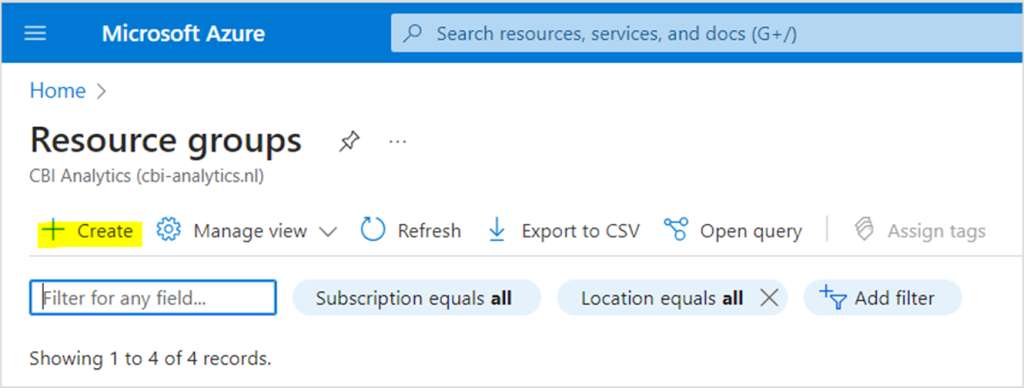
On this page we click on create.
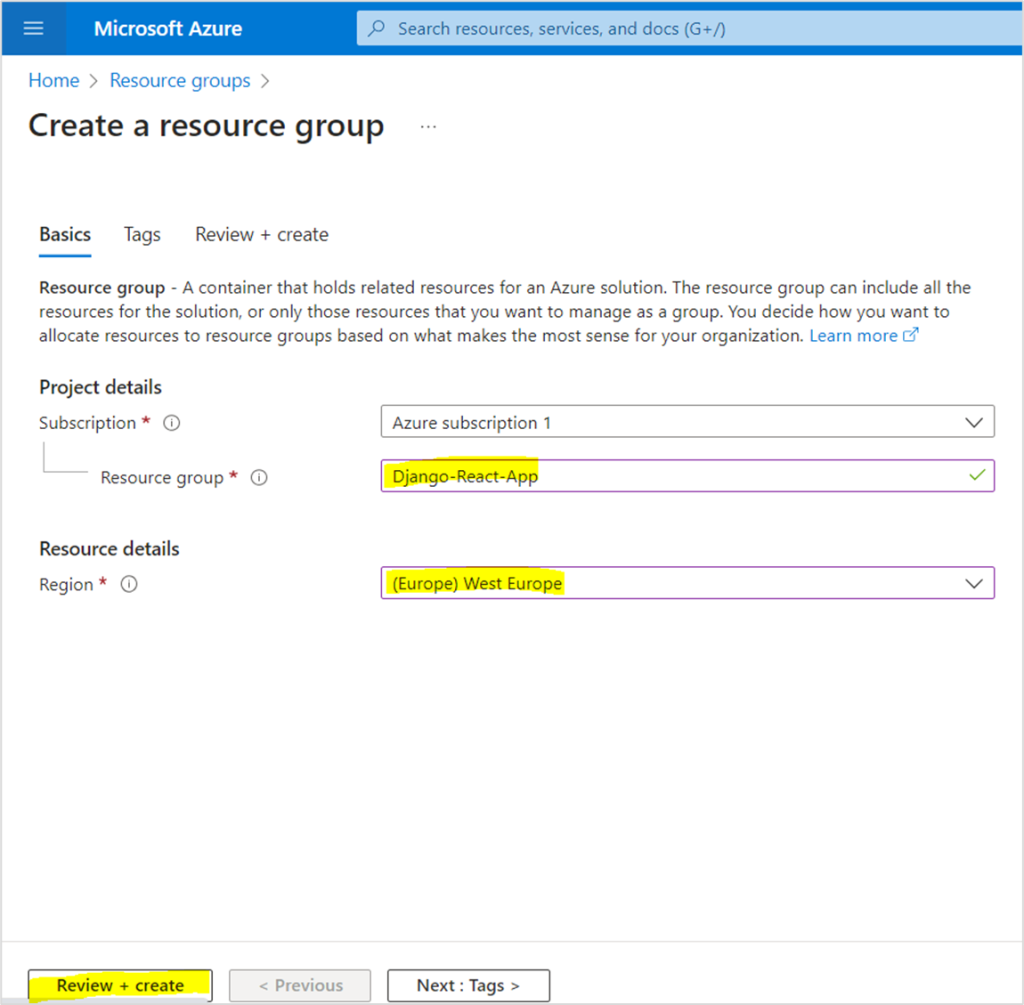
In order to create a resource group we need to provide some information. I enter a name (feel free to pick any name you like) and pick a suitable region. We then click on review + create.
Always pick a region closest to your or your clients location! The closer the location the faster the connection.
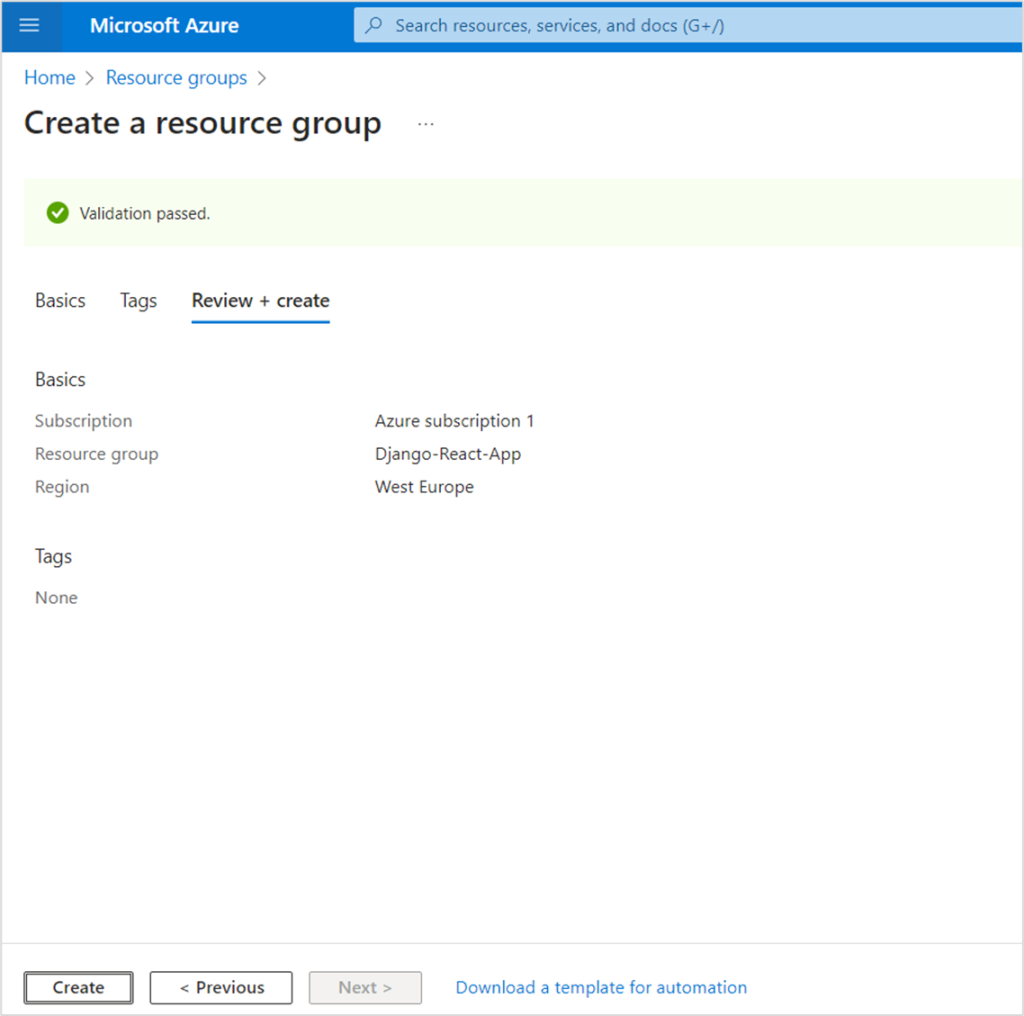
After the validation succeeds you can click on create. This will deploy your resource group!
Create our PostgreSQL database and server
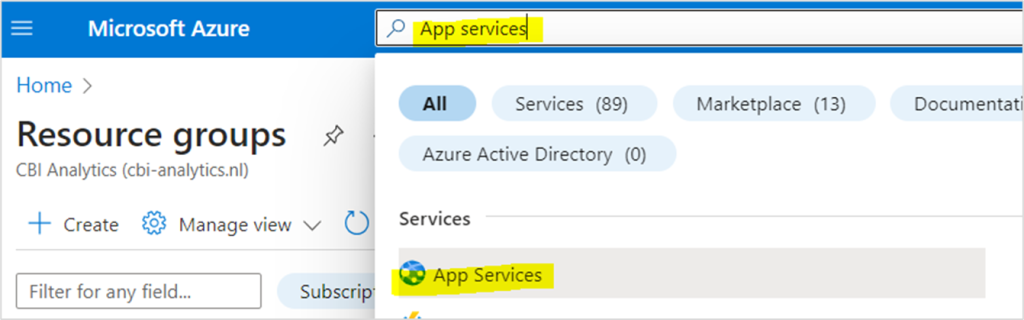
With the container for our resources ready, we can start creating our database and server for our backend code. We use App services to create these services. Search for app services in the top bar and select the service.
Click on create and select Web App + Database. This will enable us to create all resources at the same time.
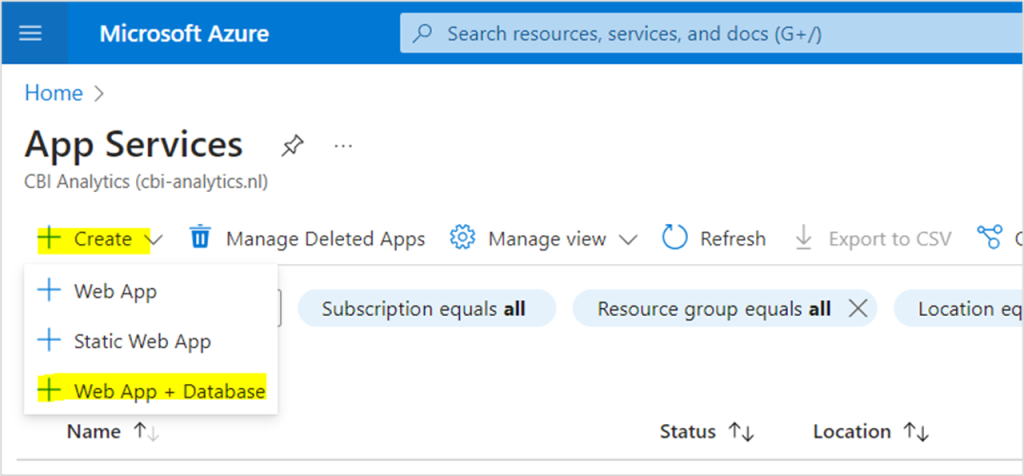
Web + Database automatically automatically sets the connection string between app service and the database, and takes into account security & compliance best practices.
We need to provide some information on our backend:
- Resource group: Select the resource group that you have created in the previous step.
- Region: Select the region closest to you.
- Name: This is the webadress where you will be able to find your backend. It is always followed by .azurewebsites.net.
- Runtime stack: The version of python you have used during development. You can check by entering the following command in your backend terminal: python –version

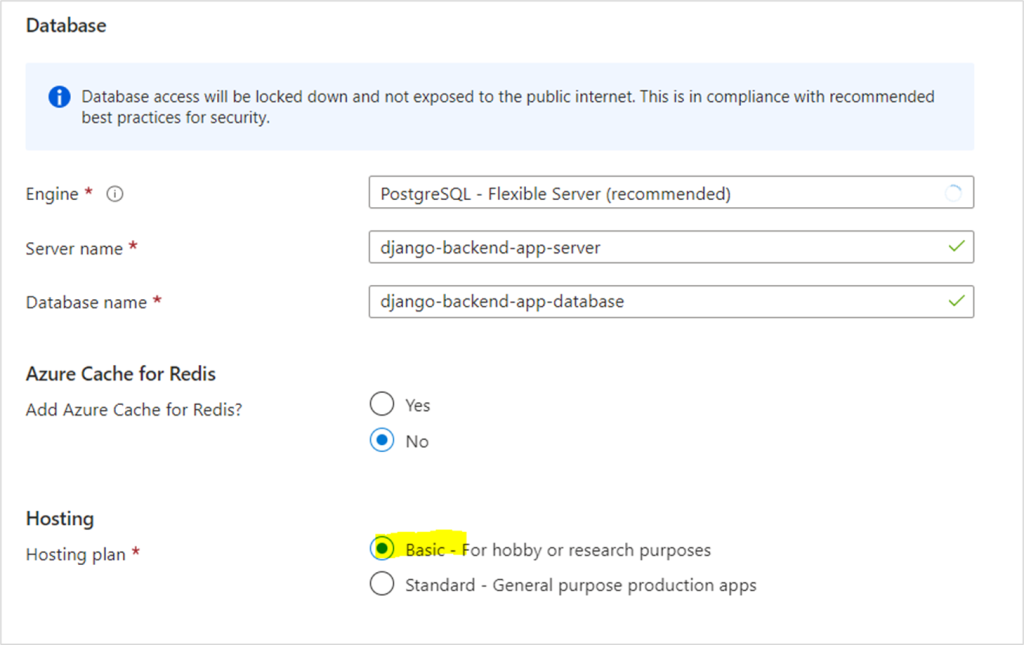
- Engine: PostgreSQL flexible server. When you select python it will select this database by default. I do not touch the names of the server, database, and the setting for redis.
- Hosting: I change this setting to basic in this example. You can change this later on if required.

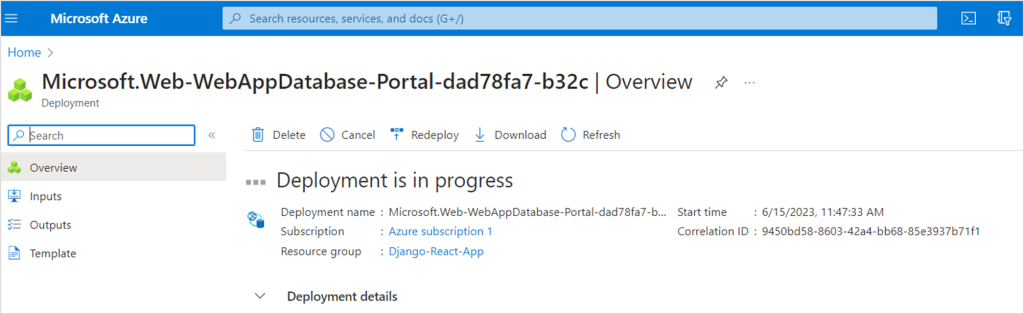
Click on review + create. After validation you can click on create. The deployment will take around 5-10 mins.
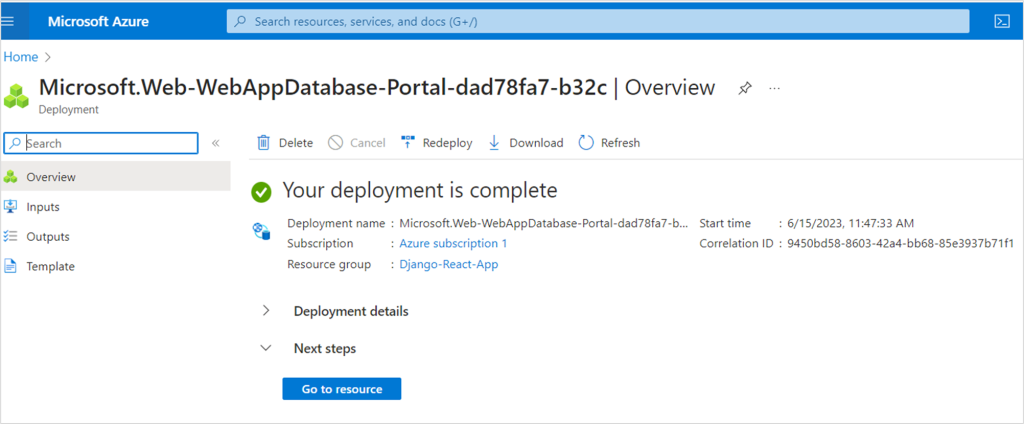
After a while your deployment will be complete!
In this example we use flexible server for PostgreSQL. There is a cheaper version called PostgreSQL single server. However, you can’t use this database in the web+database, and this server will be deprecated on may 28th 2025. Azure does not recommend using this anymore.
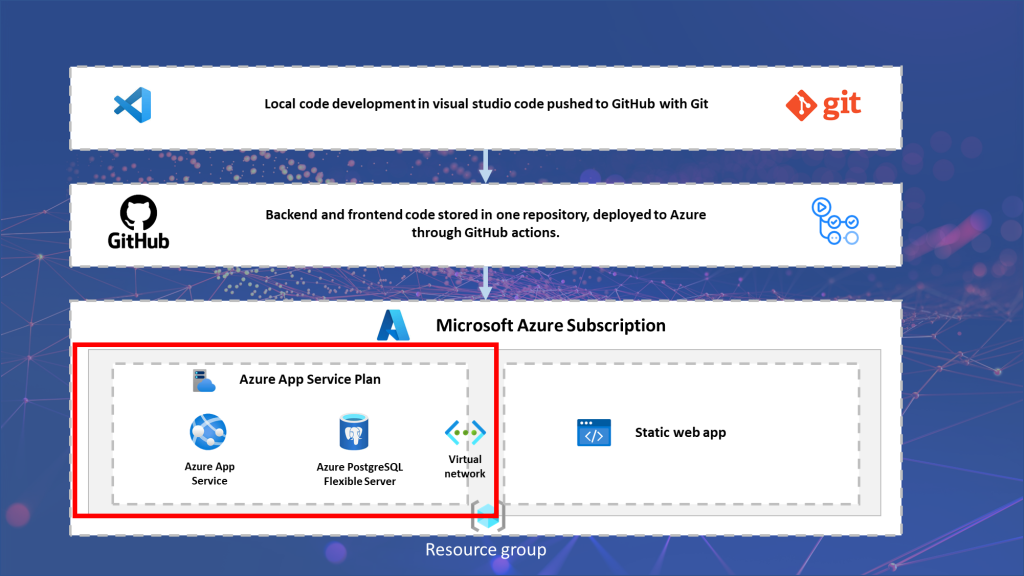
Explaining our Azure resources
Let’s go to the home page of Azure, and then look at the services that are currently in our resource group. Click on the name you have created on your dashboard.
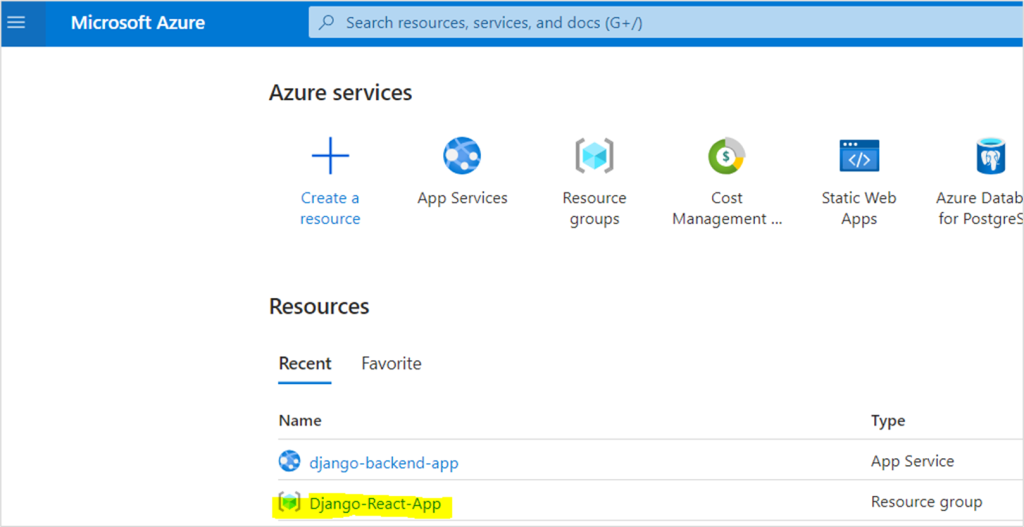
You will immediatly see multiple resources, some of which you might not know.
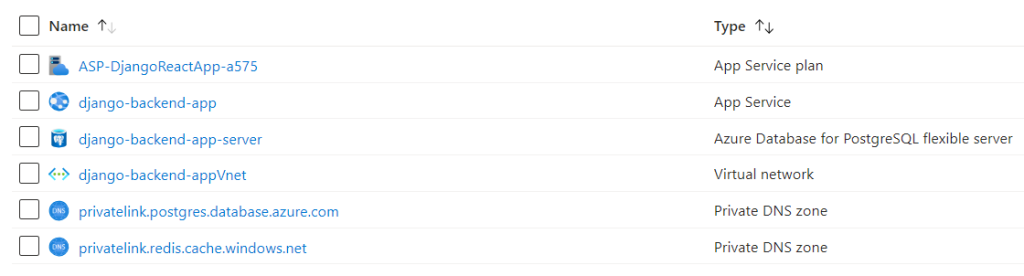
What do these do?
- App Service Plan: Is the container for our App Service.
- App Service: This is where we will deploy our backend code.
- Azure Database for PostgreSQL: Our database. Includes a server and a database.
- Virtual network: Creates a secure network so only our services can communicate with eachother (unless we tell the network to whitelist other services).
- Private DNS zones : Creates the secure link between our database and our virtual network.
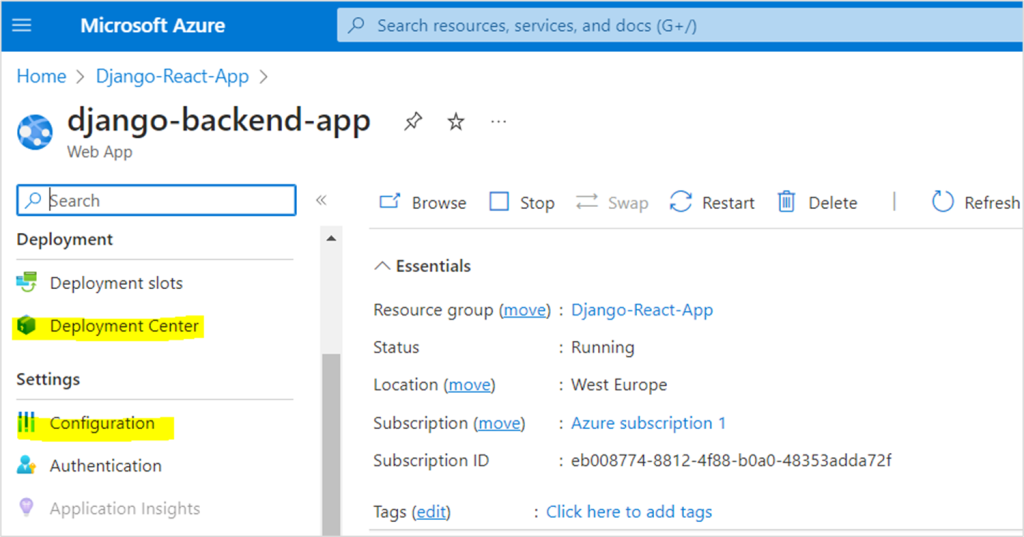
For our deployment the App Service is the most relevant! So let’s click on it. When it opens it is important to be aware of two tabs (only ones you need for now).
- Configuration: Where we set the environment variables and database credentials for our app.
- Deployment center: This is where we push the backend code to our App Service.
Add environment variable
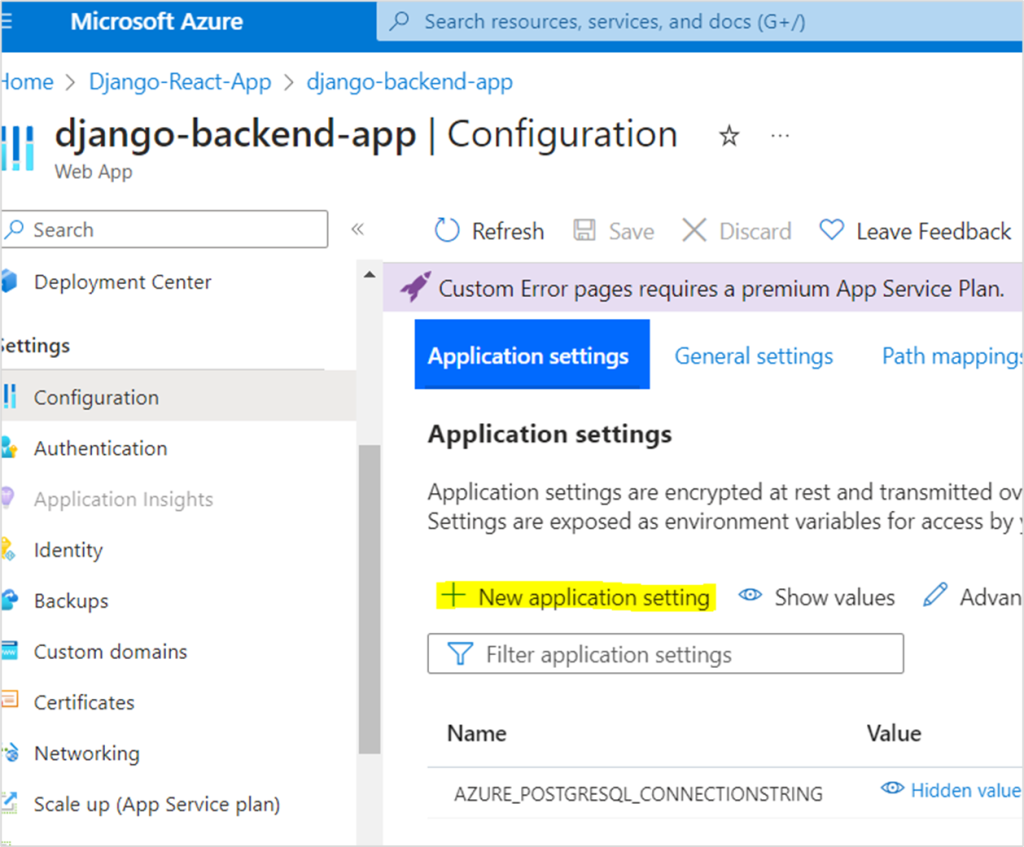
And adding the environment variables is also our next step. So go to your App Service instance and click on configuration as described before.
You will notice that one variable is already created by Azure (AZURE_POSTGRESQL_CONNECTIONSTRING). In this variable you wil find the database credentials.

In our previous post we have already put this string in the deployment settings or our code, so that our code knows exactly which credentials to use to store data in the database.
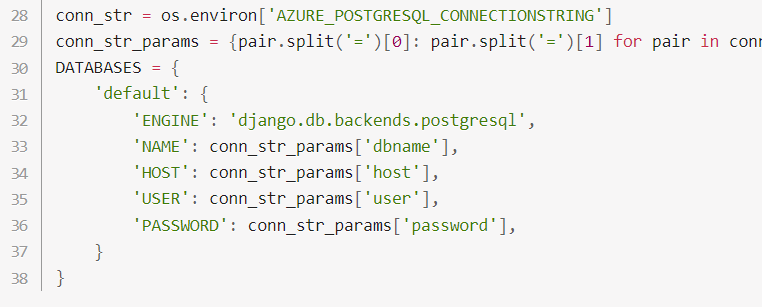
You see that we refer to the connection string, and split it to get the values for the engine, name, host, user, and password.
However, in our previous post we also created an environment variable for our secret key, and that’s not described in our configuration yet. I generated a random secret key on this website, and now I will add that to our Azure configuration:
Click on new application setting.
Add the same name as in your source code and add the value generated on the website (or some other value). Click on OK.

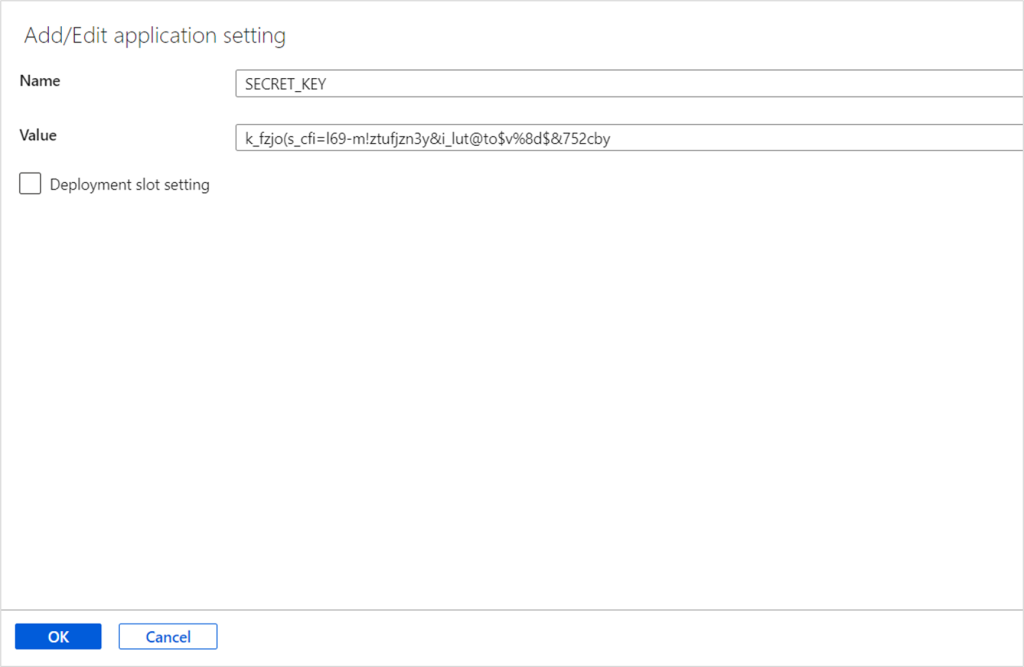
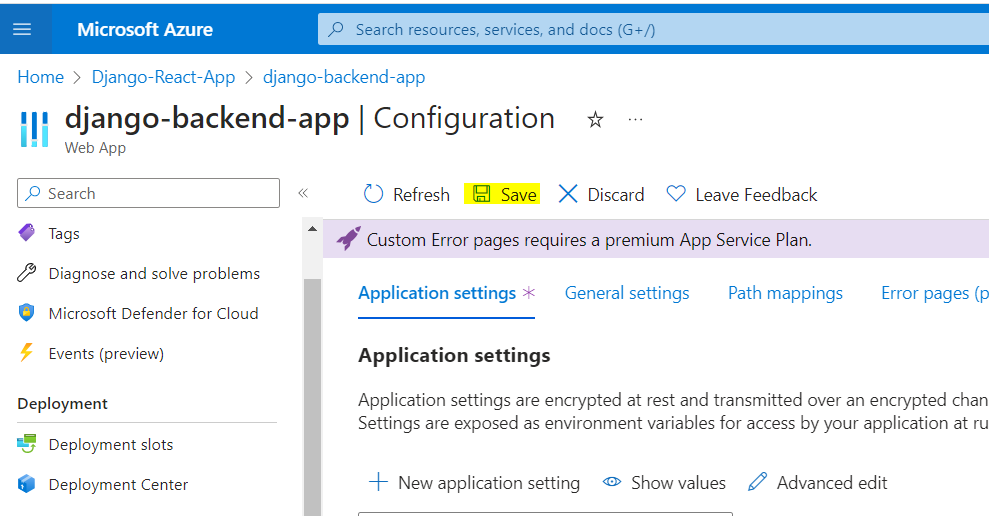
IMPORTANT: You still need to click on save at the top to save your new setting!
NEVER show your secret key. I will delete my services after this so it doesn’t matter, but keep your secret key to yourself!
Push our code to Azure with Github Actions
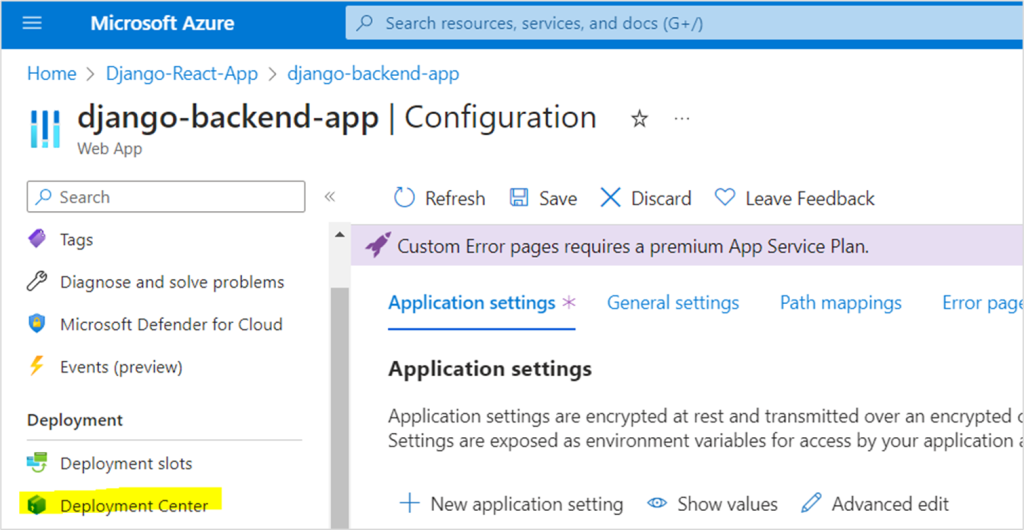
Now let’s actually push our code to the App Service. Go to the service and click on deployment center in the menu.
Select GitHub as the Source, and sign into your GitHub account from Azure. I have already done this before so for me it is already linked.
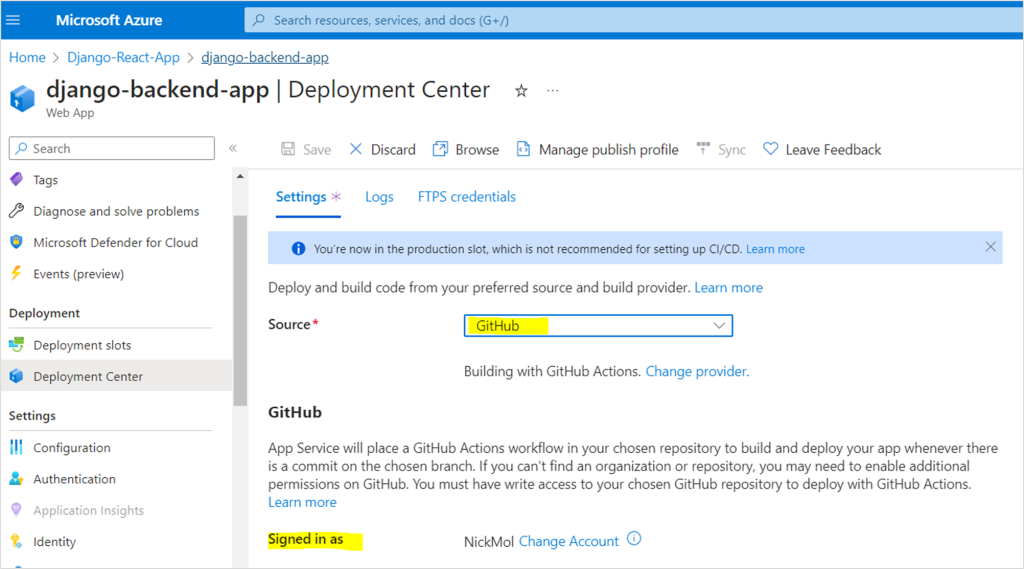
Once you are logged in you can pick the repository that you need and select the branch.
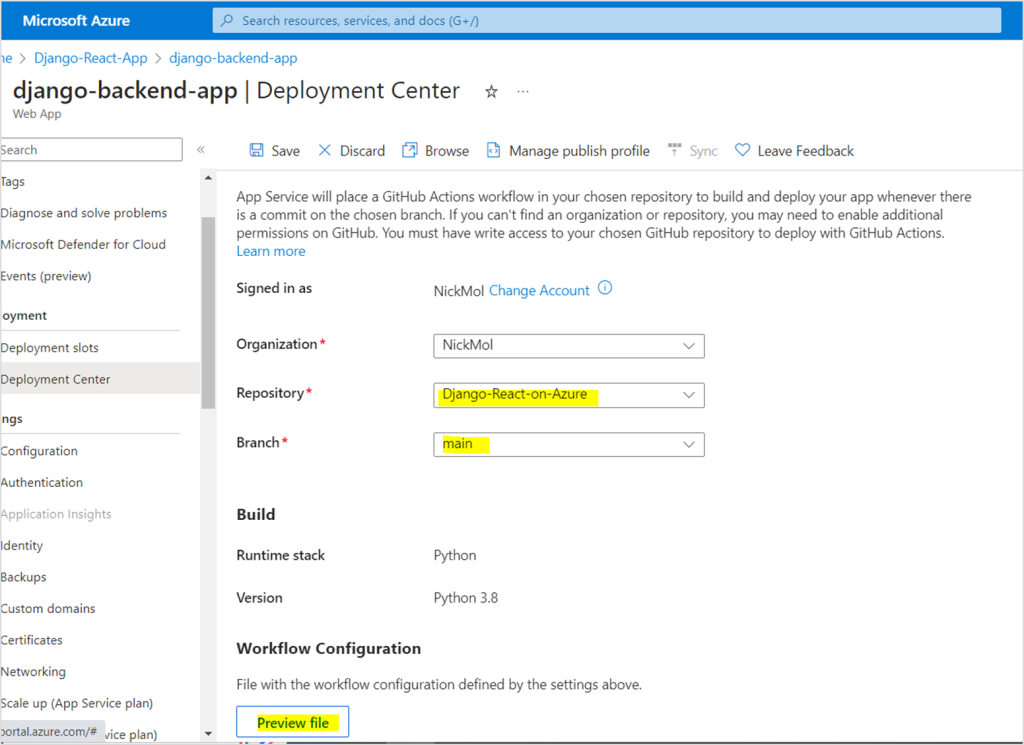
This is where issues arise (for me). On GitHub I have deployed my BACKEND and FRONTEND together in one repository, but currently Azure will deploy my entire code… Don’t worry, we fix with that later!
For now, click on save to deploy:
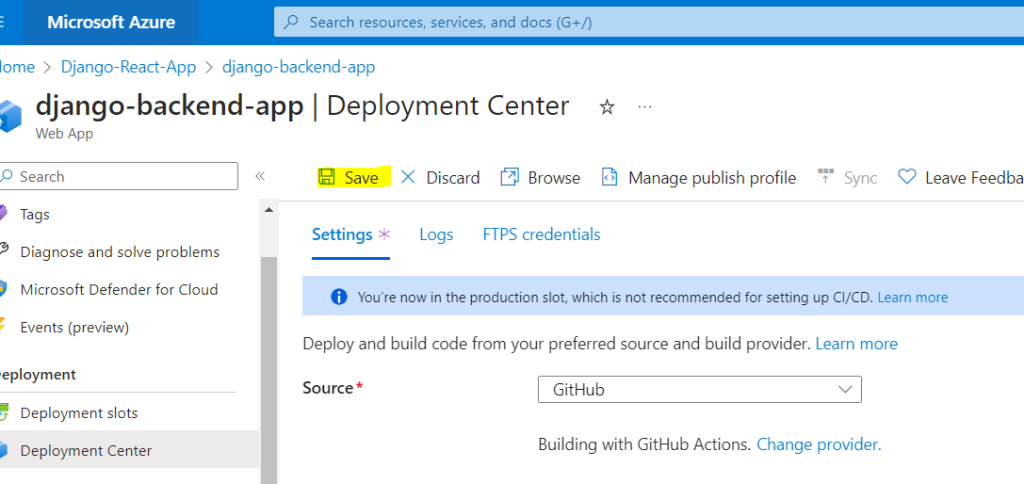
If you have your backend in one repository, and the frontend in another, this would have worked and you don’t need to follow the next steps.
View deployment in GitHub
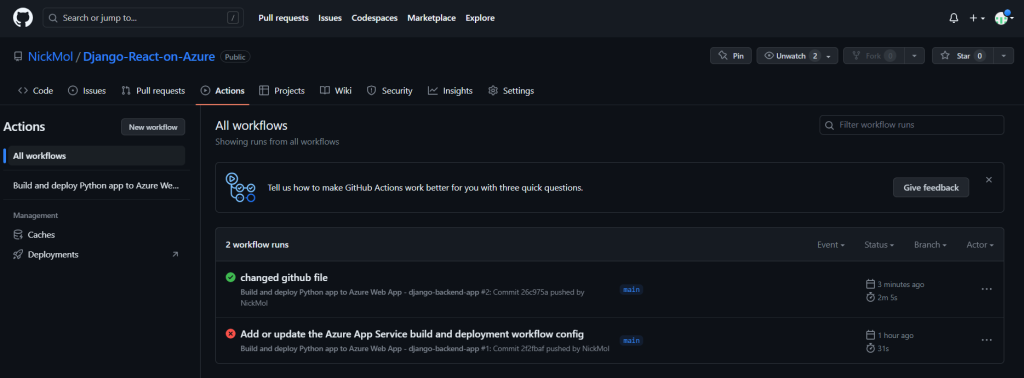
Let’s take a look at what happens in GitHub when we deploy our code. Go to the GitHub repository that you are deploying and click on Actions.
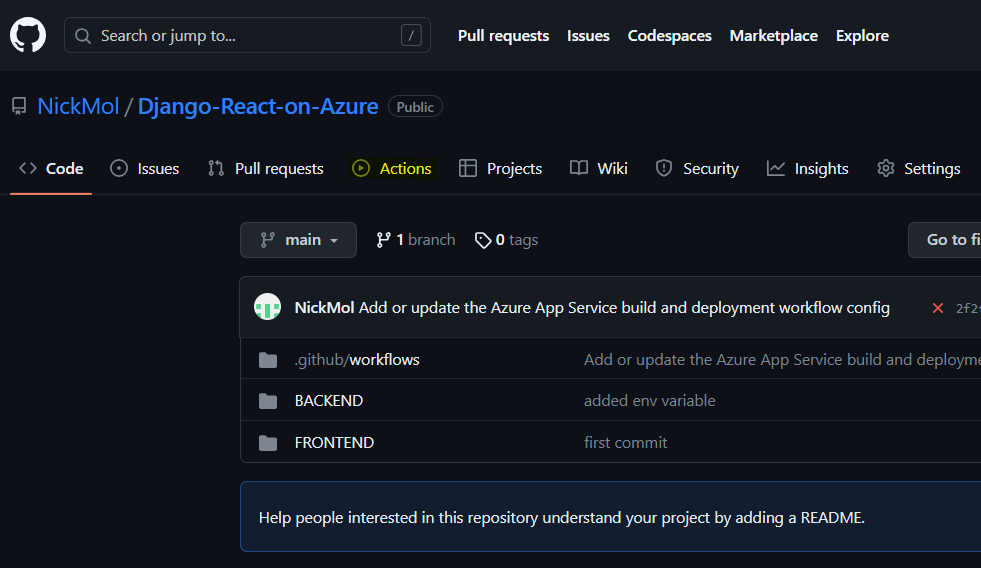
We will immediatly see the error because the deployment has not succeeded yet.
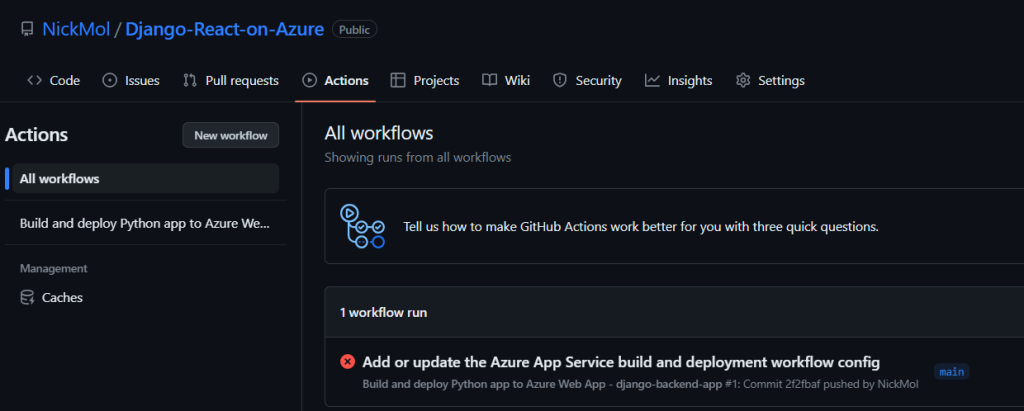
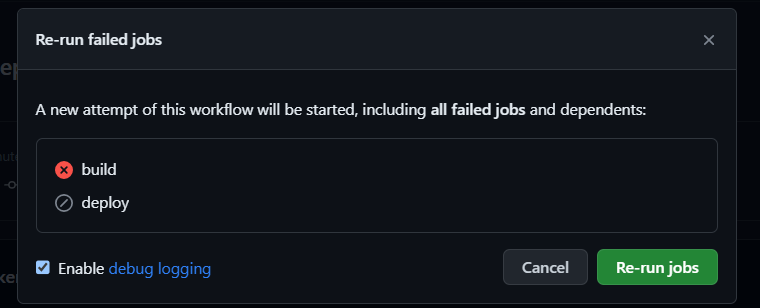
Our deployment failed. But I can’t see why. To get more info I click on re-run failed jobs, and I enable the debug logging.
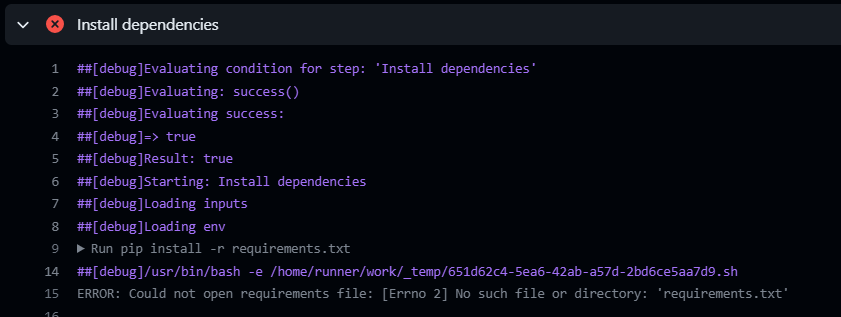
When we click on the build we see that it failed to install our requirements file. This is because we do not direct it to our BACKEND folder.
Fixing our issues
This section is not relevant is you have only the backend folder in your repository. But it still shows how you can investigate errors.
Let’s fix this! We go back to our code editor, and use the pull method to get the added files for deployment in our local codebase.
git pull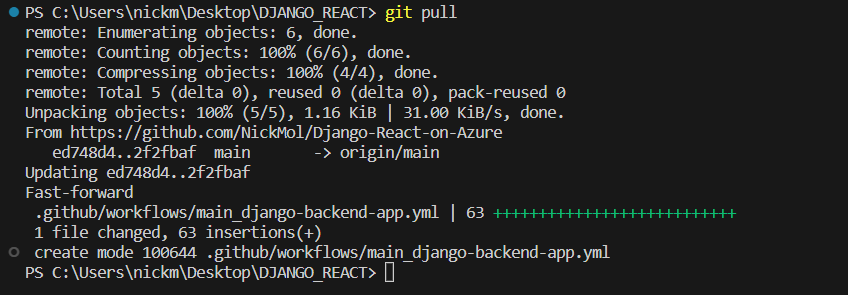
You will see a github folder appearing.
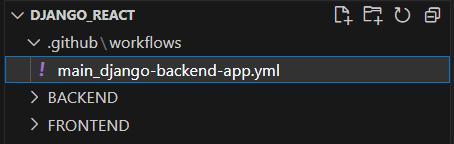
In the yml file I make 2 small changes to direct the app to the BACKEND folder.
- Change the install dependencies code. I add a cd command so it navigates to our Backend folder.

- name: Install dependencies
        run: |
          cd BACKEND
          python -m pip install --upgrade pip
          pip install -r requirements.txt

# Additional build commands if needed- Change artifact path to the backend.
- name: Upload artifact for deployment jobs
        uses: actions/upload-artifact@v2
        with:
          name: python-app
          path: ./BACKEND/
Now we push our code back to GitHub and it will automatically redeploy.
git add
git commit -am 'change the Github code'
git push
Now we need to have some patience. When we go back to GitHub actions we will see our second deployment run. It is now on success!
Migrating our database
Our backend code is up! Now let’s migrate our database. We can do this in the Azure portal. Go to your App Service and scroll down on the left menu untill you see SSH. Click on go.
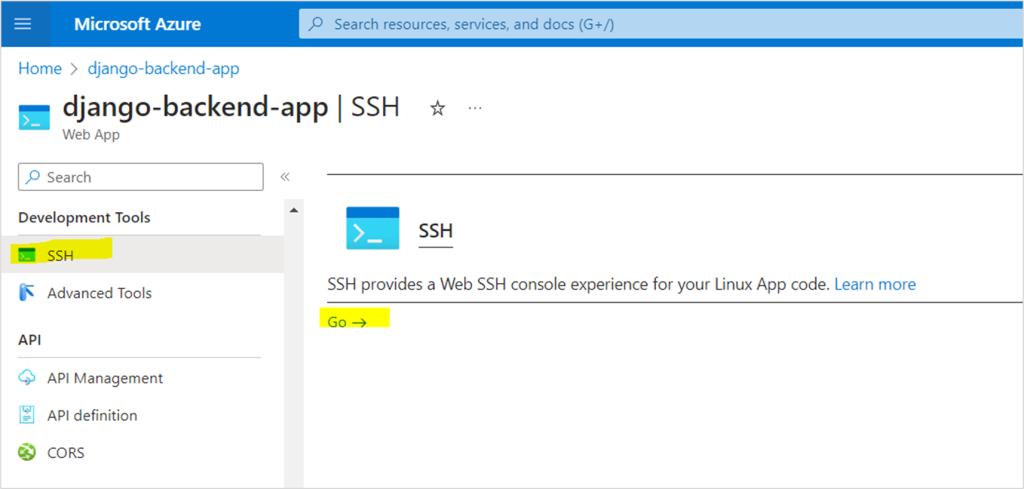
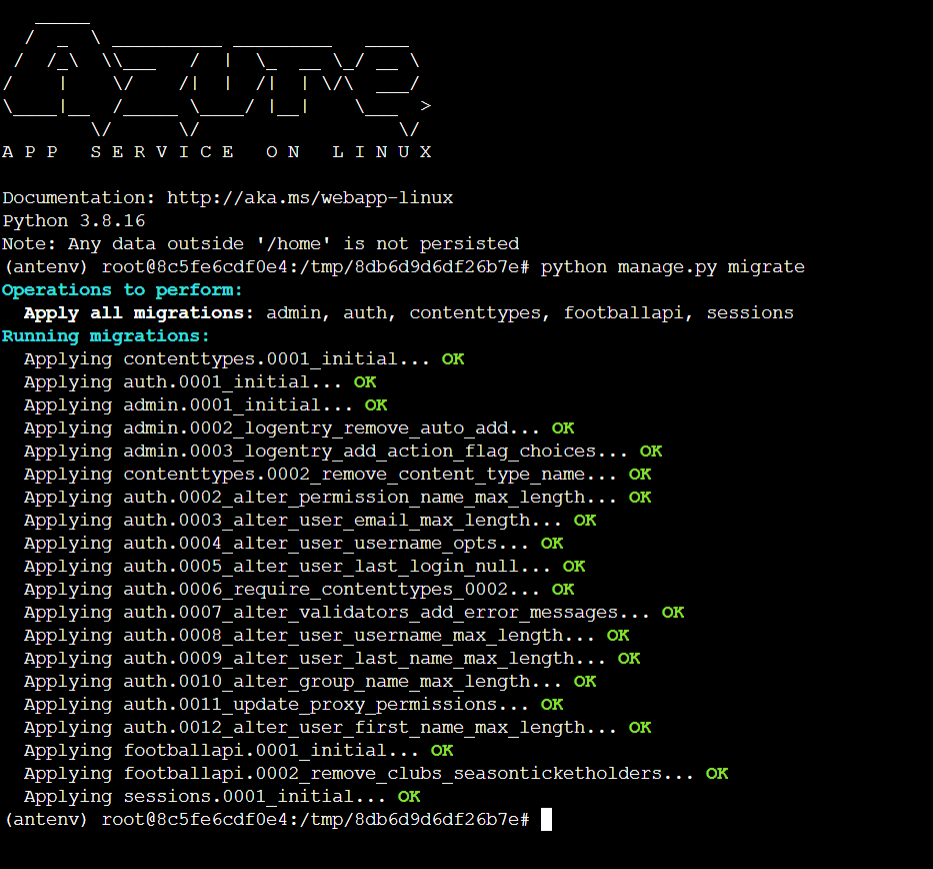
We use this command to migrate our database:
python manage.py migrateYou will see that the tables are created!
Create a superuser
To get to our Django admin portal I also need a superuser account. So I stay in the SSH portal and use the following command.
python manage.py createsuperuserPython will ask me for a username, email and password. Thereafter, our account has been created!

Test our backend & database
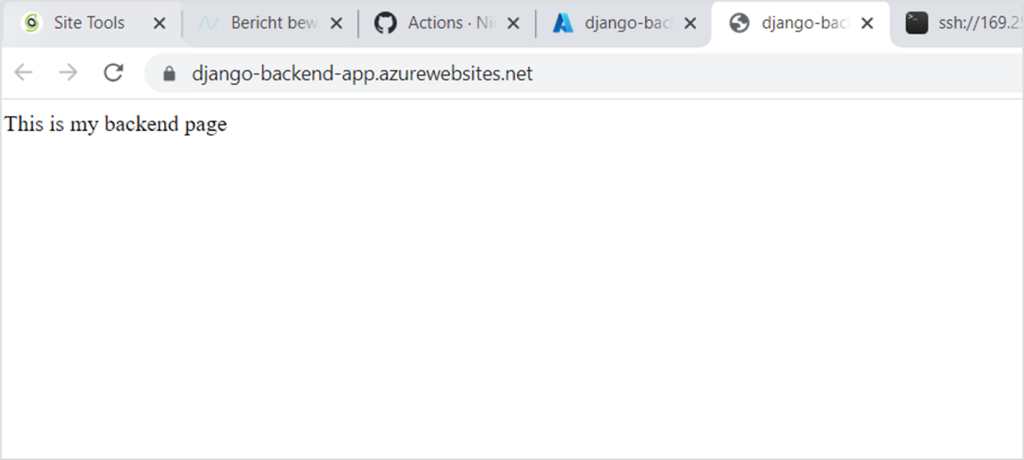
You can find the url to the backend in the overview tab of the App Service.
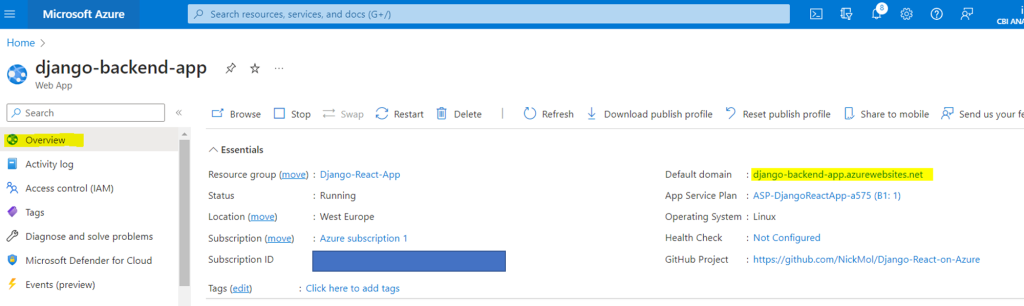
I have created a template for my home page, so I now see a page with some text. If you have not done that you will perhaps get an error. This does not matter!
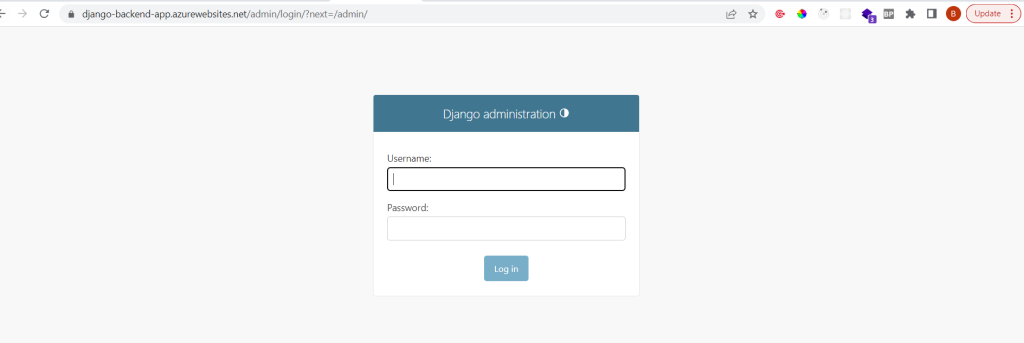
Simply go to /admin and you will be able to login with the superuser credentials we have created in the previous step.
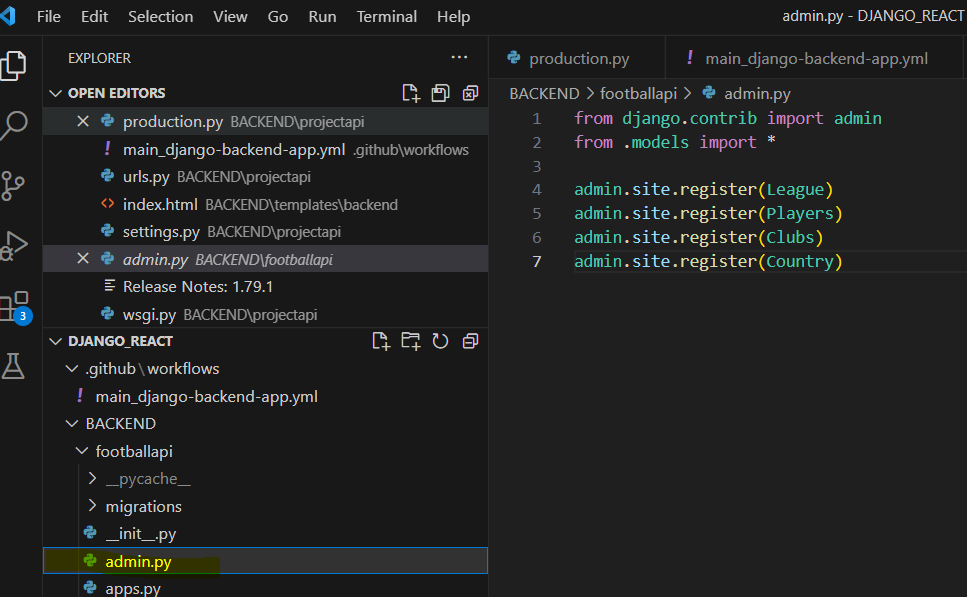
I see my models here since I registered my models in my code.
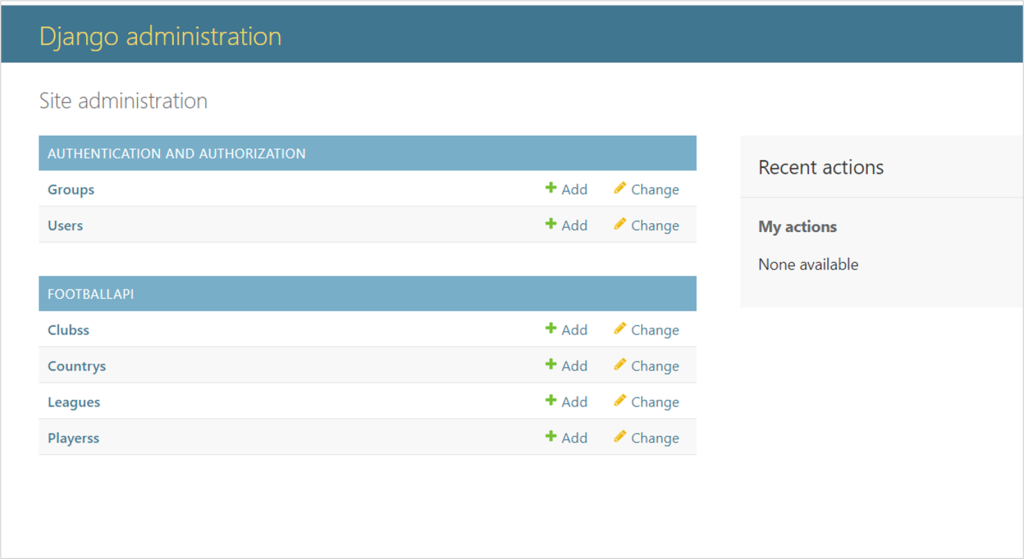
Image below shows my registered models. That’s why they show up in the admin console.
Let’s test if I can create a country. This will test if the connection to my database works.
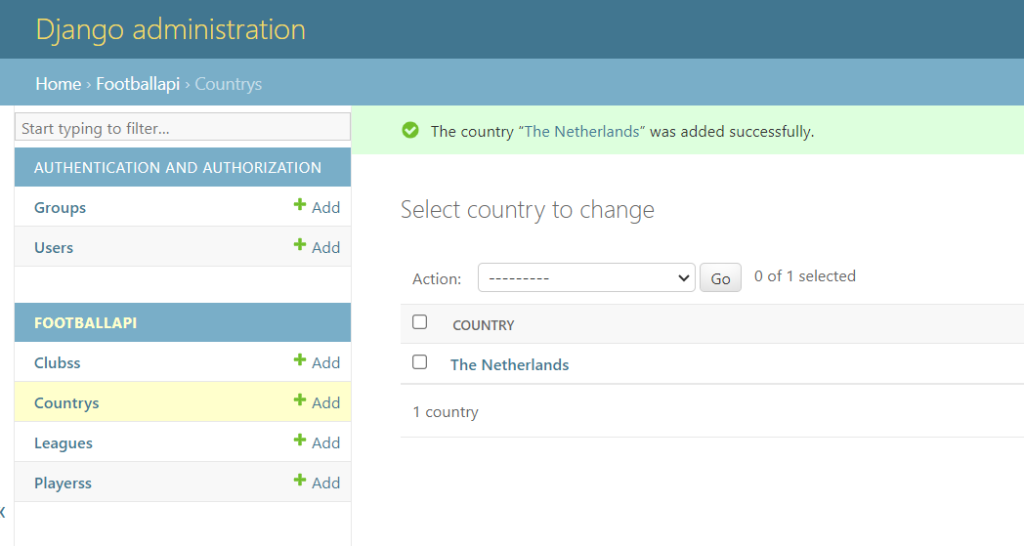
It seems to work! Our backend deployment is now complete.
On to the frontend!
Apologies for the long post, but the backend is now live! Now on to the frontend and our deployment will be complete.


